There are two ways you can style Storefront’s Option Appearance :
So here's a step-by-step guide on how you can apply style to the storefront appearance of options on the product page for each option individually.
From the Optionia dashboard, click Option Sets from the bottom-left corner.
Then, click the Option Set where you want to add the style.
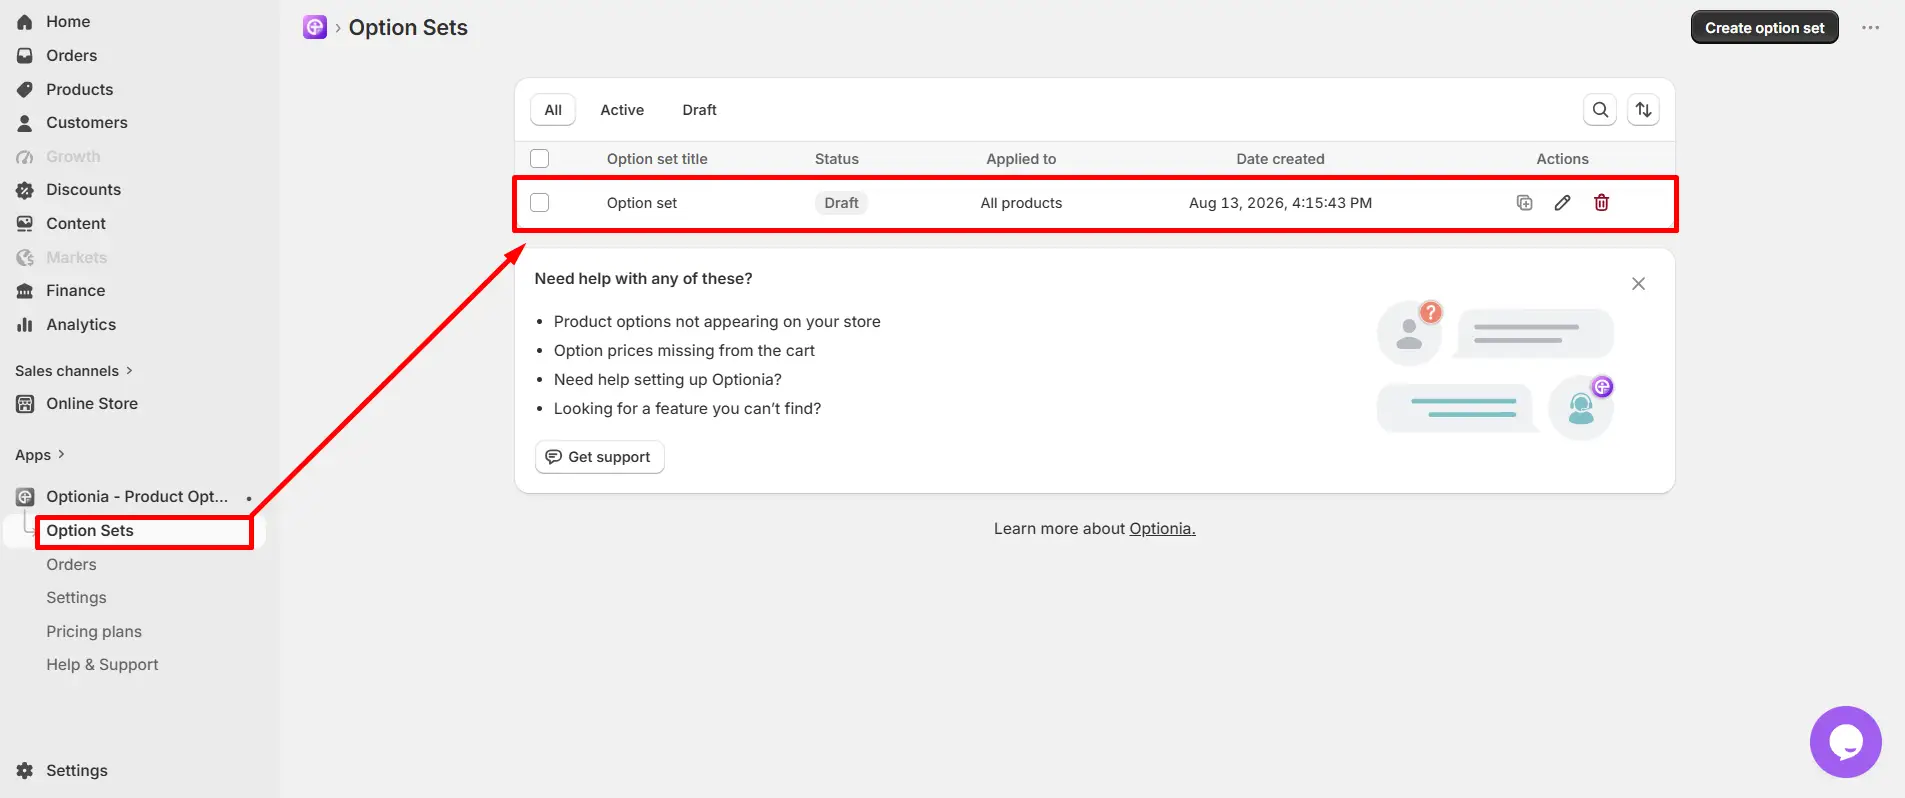
You can apply additional style to either a new option set or an existing one. You can learn to create a new option set in another part. For now, we will discuss how to add a checkbox option to an existing option set.
Click the option name you want to apply the style to.
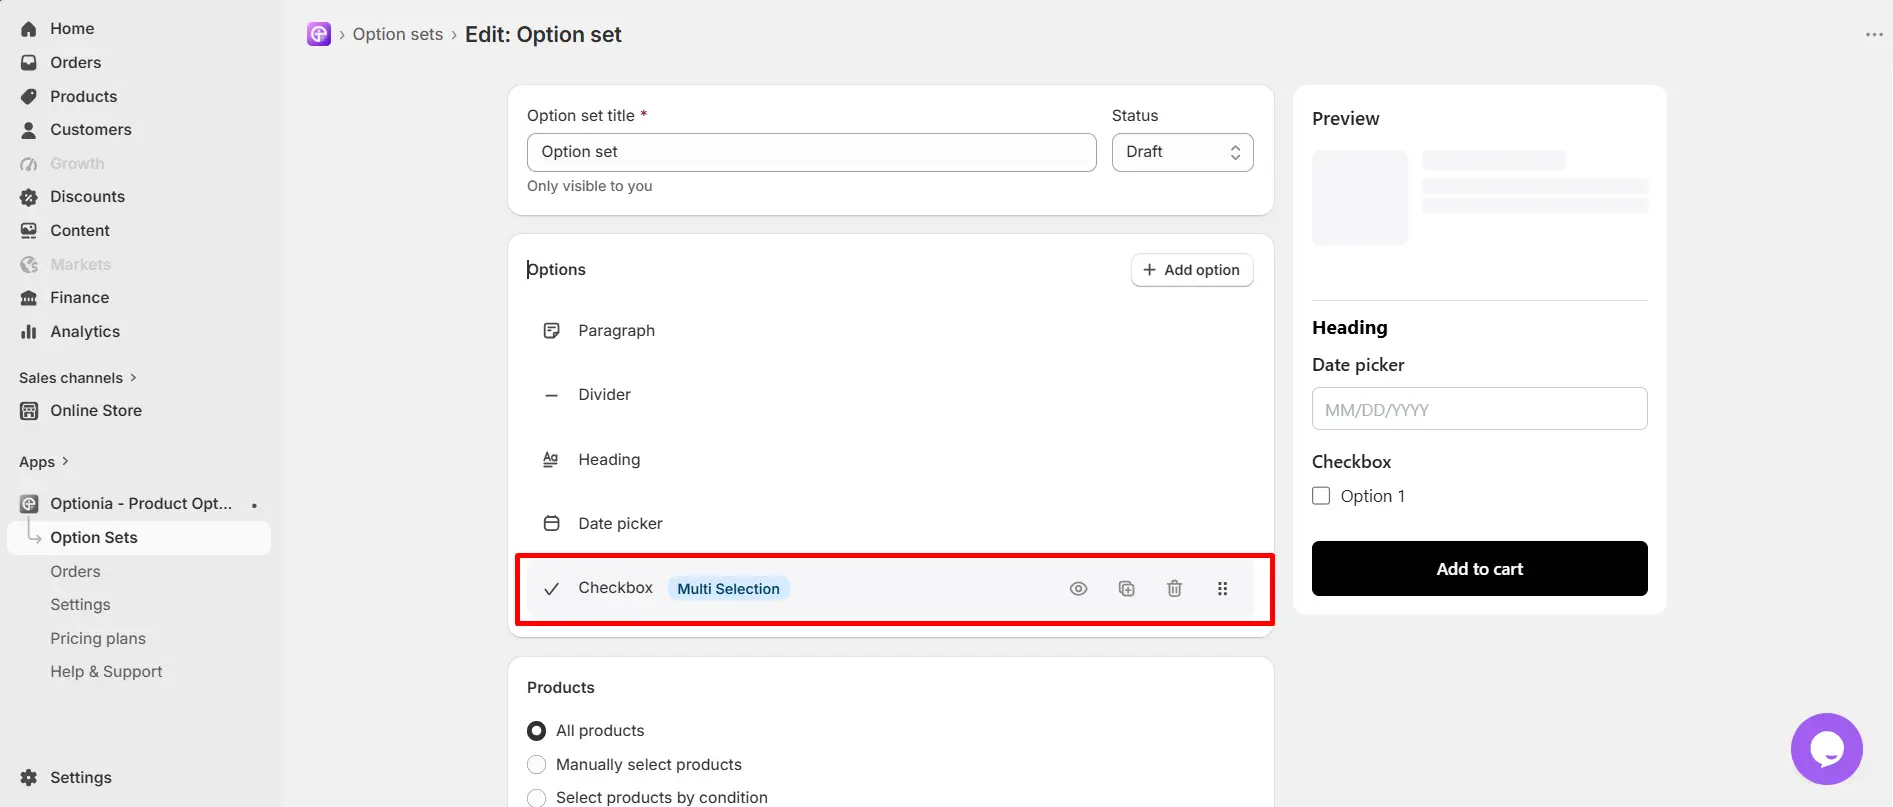
Now scroll down a bit, and you will see the "Additional Settings" option.
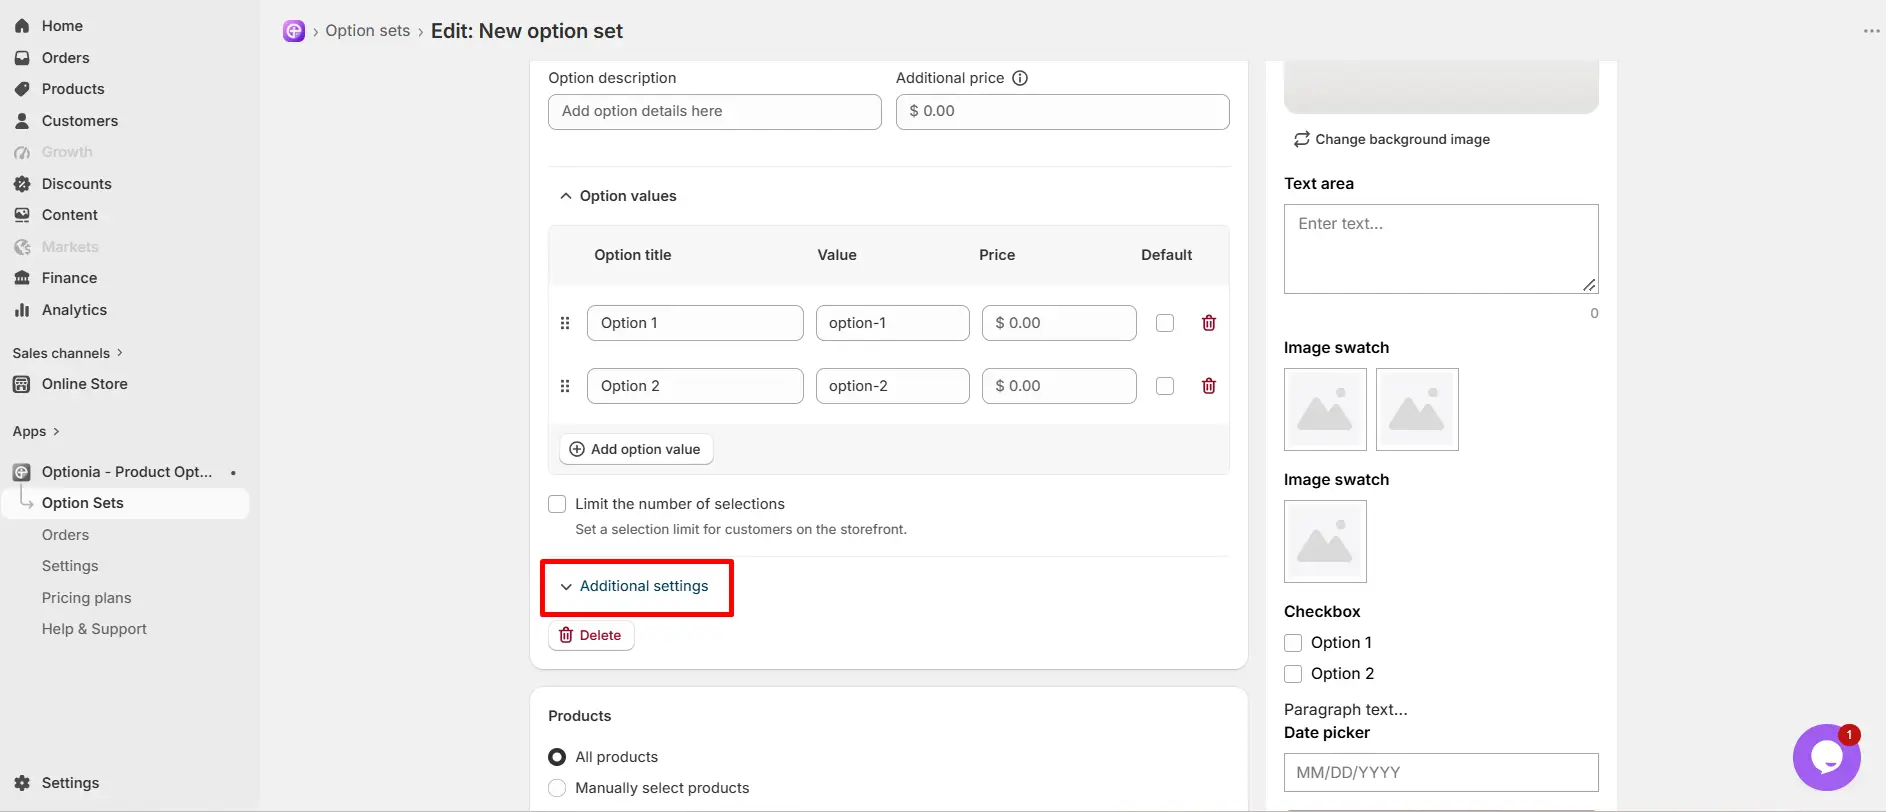
After clicking on the “Additional Settings”, you will see a bunch of fields for styling. Optionia lets you style each option however you like.
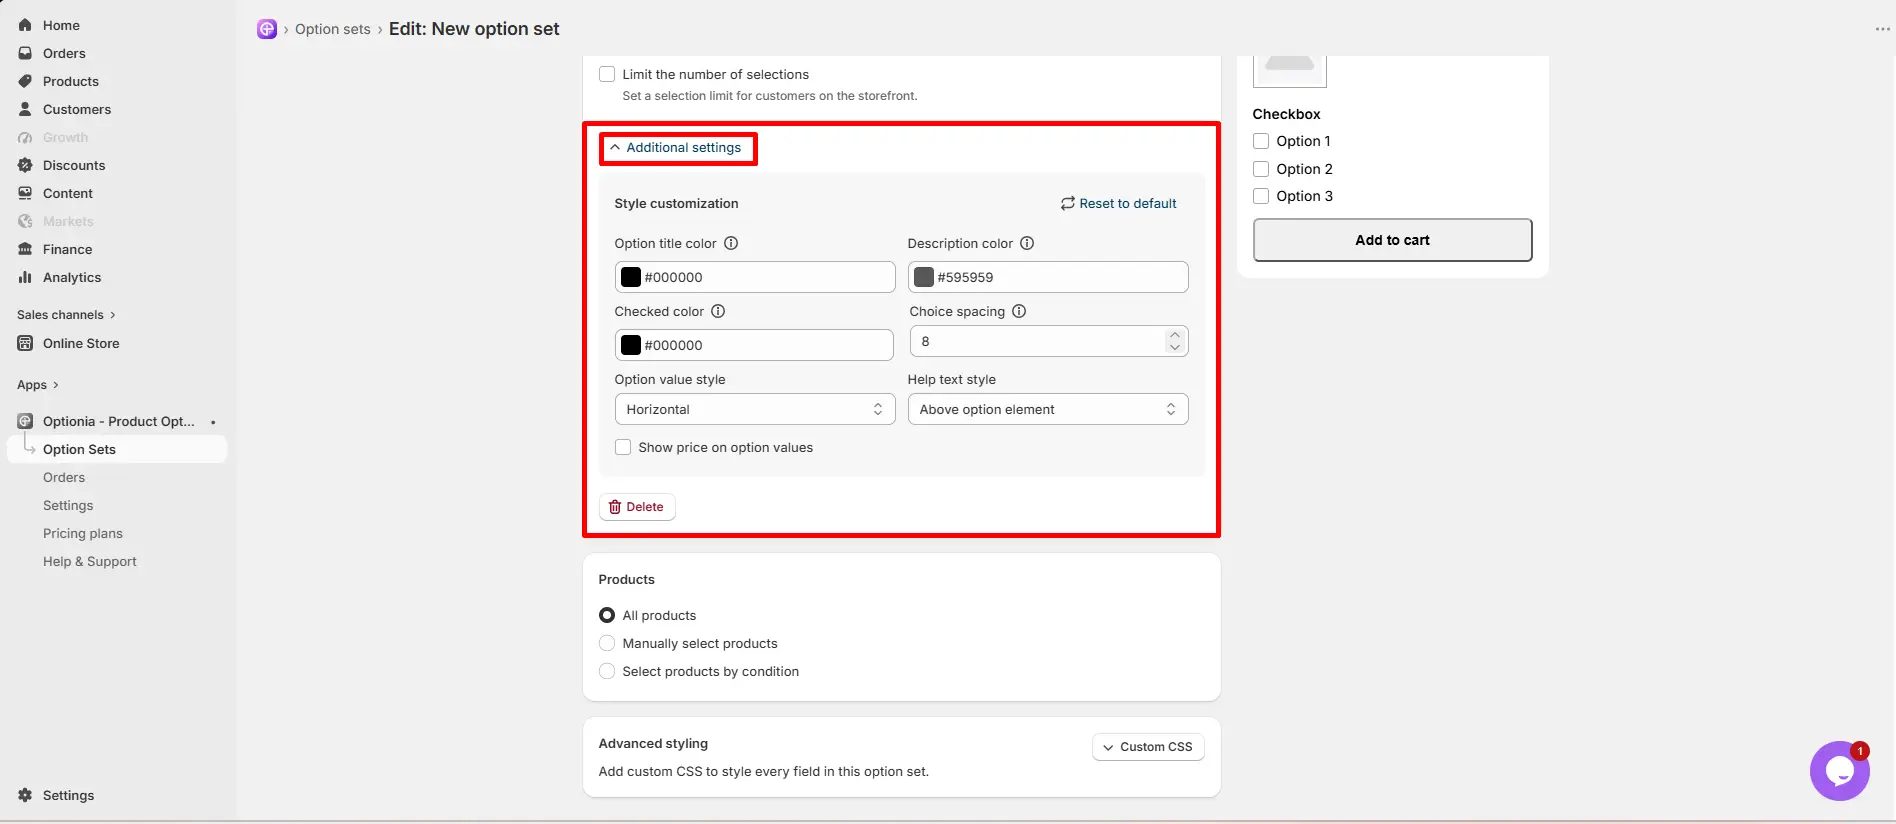
In the Additional Settings, stylize:
Option title color: This sets the color of the option title.
Description color: Choose the color of the description.
Checked color: This defines the fill color inside the checkbox when it is selected
Choice spacing: Spacing of the checkboxes.
Option value style: A dropdown menu that lets you change the layout orientation of the options. (horizontal/vertical)
Help text style: A dropdown menu to choose how helpful hints or descriptions are displayed to the user. It is currently set to "Tooltip."
Price shows with option value: A checkbox that, when checked, will display the price modifier (e.g., "$0") next to the option text in the final display.
Bring your brand’s vibe to the option sets with additional stylization.
When you are finished, save the Option set.
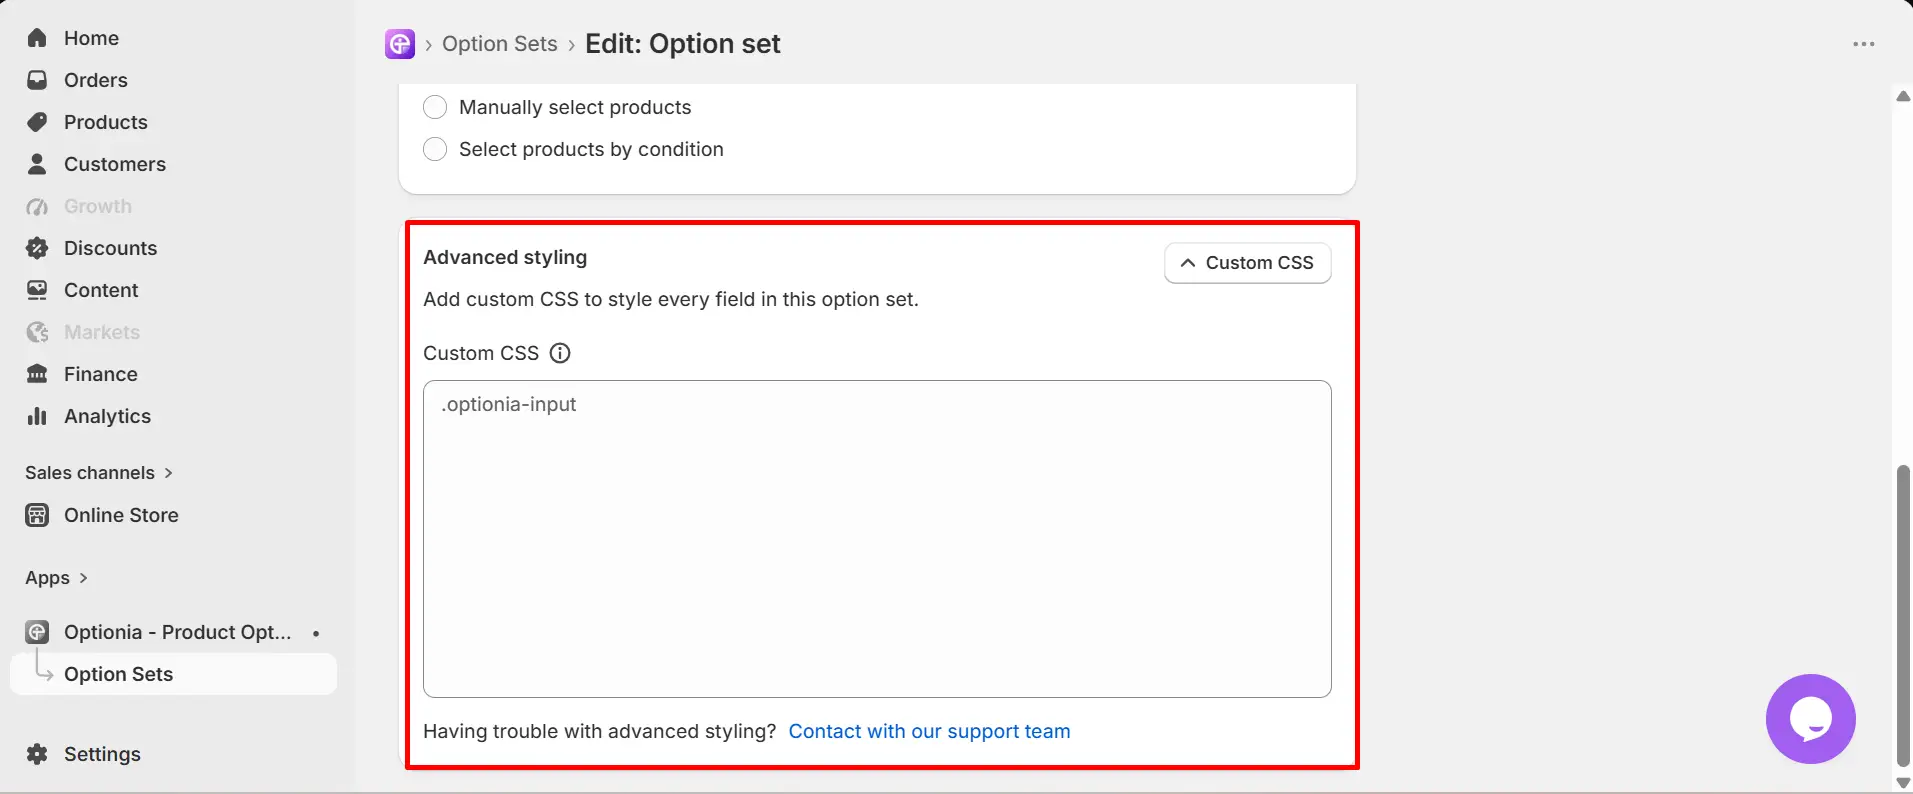
Also, you can add custom CSS to your option set to personalize the appearance according to your business needs.
 Getting Started
 Option Sets
 Orders
 Settings
 Configuration
 Live Preview
 Packages
 Help & Support
 Price Add-Ons
 Conditional Logic
 Design Theme Styling
 Uninstallation