Follow this step-by-step guide to dynamically assign custom options to your products using conditional rules in Optionia:
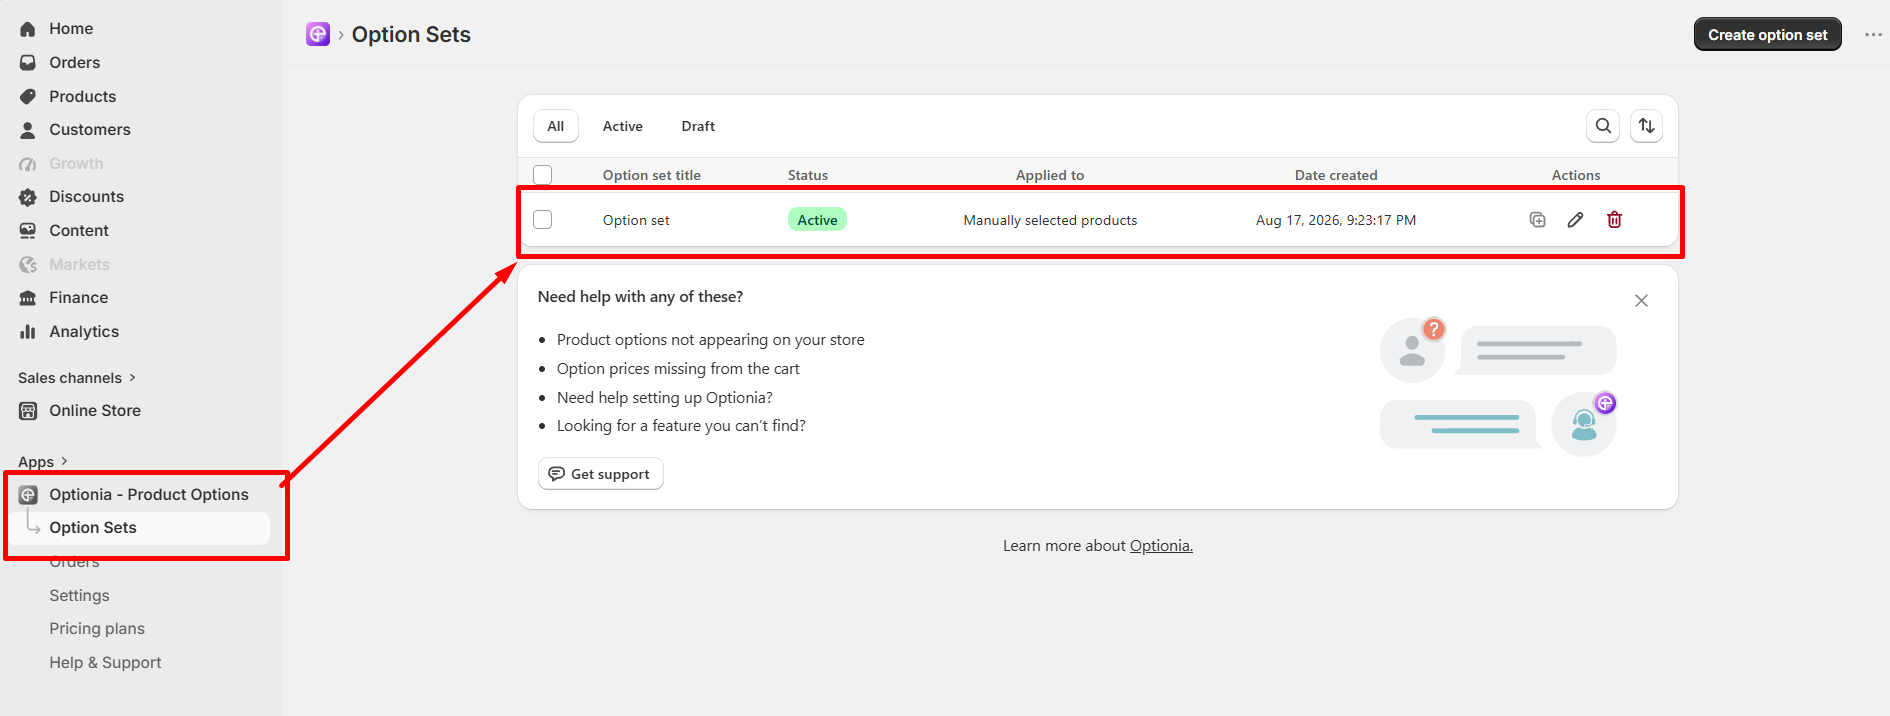
Step 1: Open the Optionia App & Go to Option Sets
From your Shopify Admin panel, go to Apps > Optionia - Product Options and click on Option Sets
Step 2: Create or Select an Option Set
Click Create option set to start fresh, or select an existing Option set from the list to edit it.
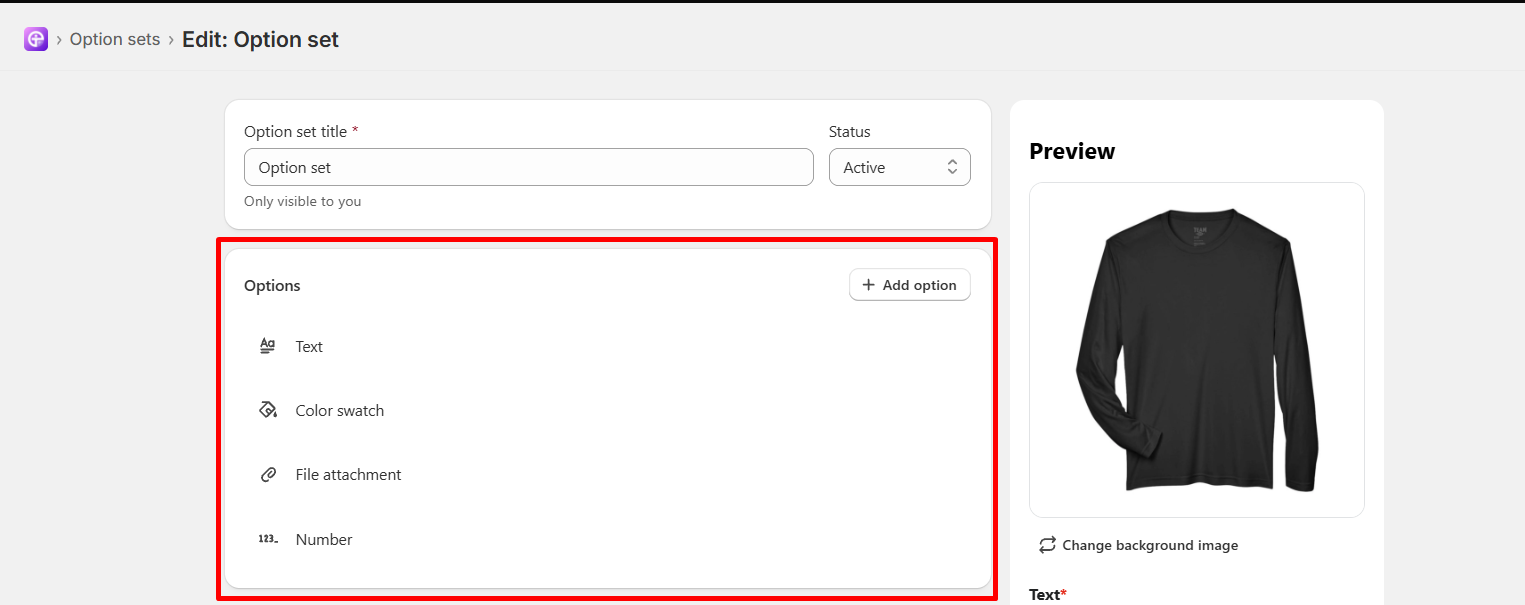
Step 3: Choose Conditional Product Assignment
Scroll down to the Product assignment section and select Select products by condition.

Step 4: Choose Rule Matching Criteria
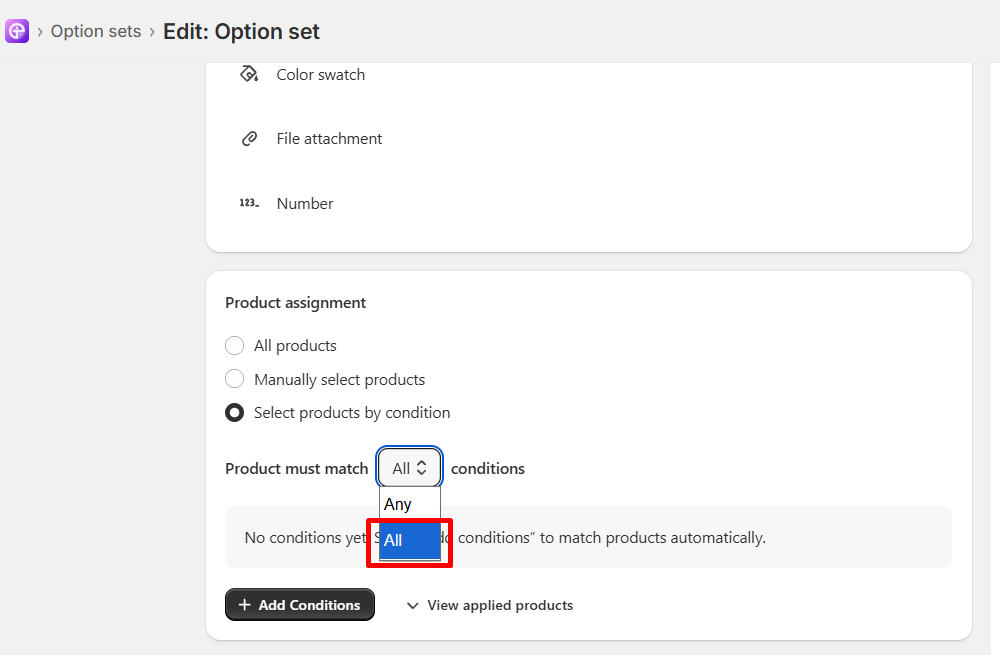
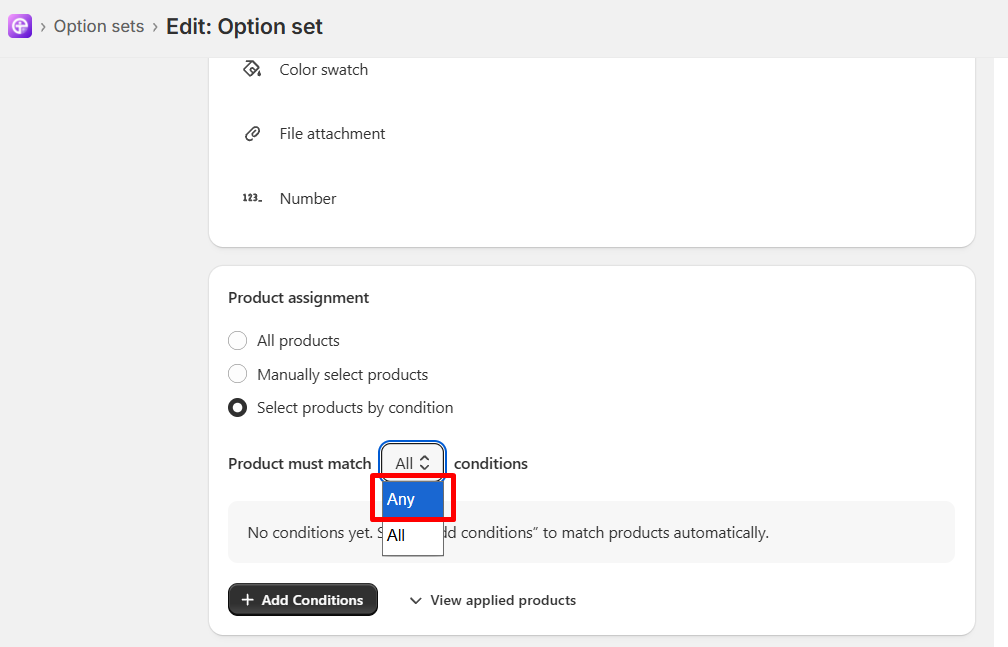
In the Product must match dropdown, choose how your rules should apply:
All conditions: A product must match every single rule you create to receive the options.
Any condition: A product only needs to match at least one rule to receive the options.
Step 5: Add and Configure Your Conditions
Click + Add Conditions and set up your targeting rules using the three fields:
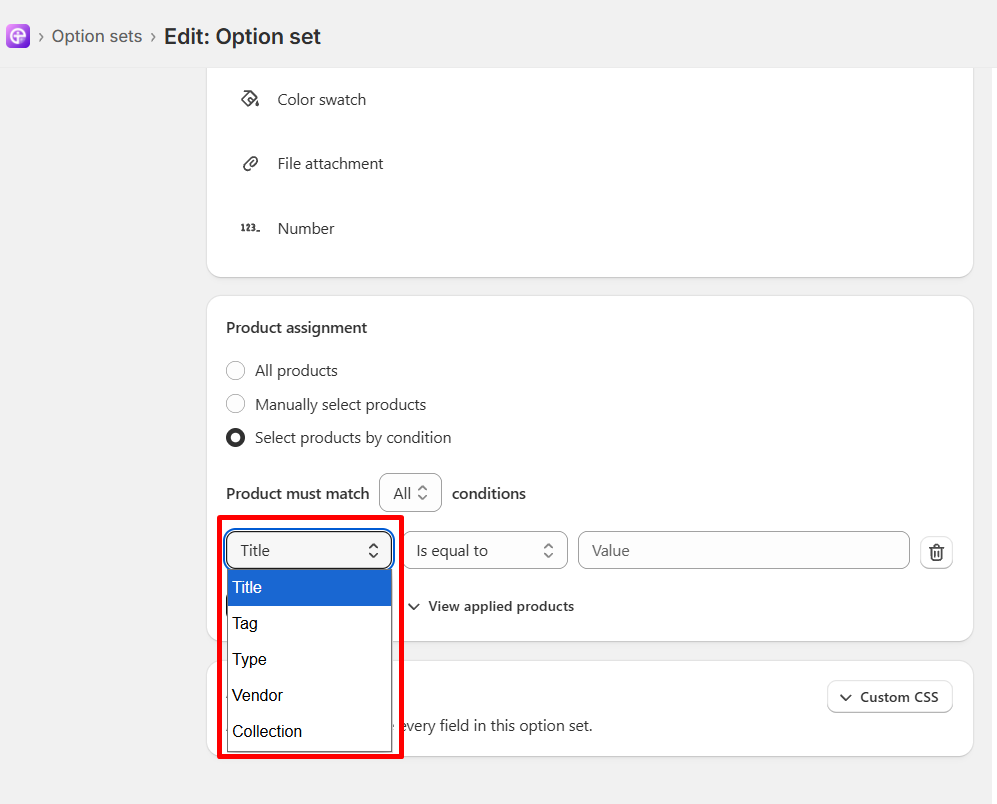
Field 1 (Product Attribute): Select the attribute you want to target:
Title: Target products by their exact name or parts of their name.
Tag: Target products based on assigned Shopify product tags.
Type: Target products by their assigned product type.
Vendor: Target products by manufacturer, brand, or vendor name.
Collection: Target products that belong to a specific collection.
Field 2 (Condition Operator): Select how the attribute rule evaluates your store's data:
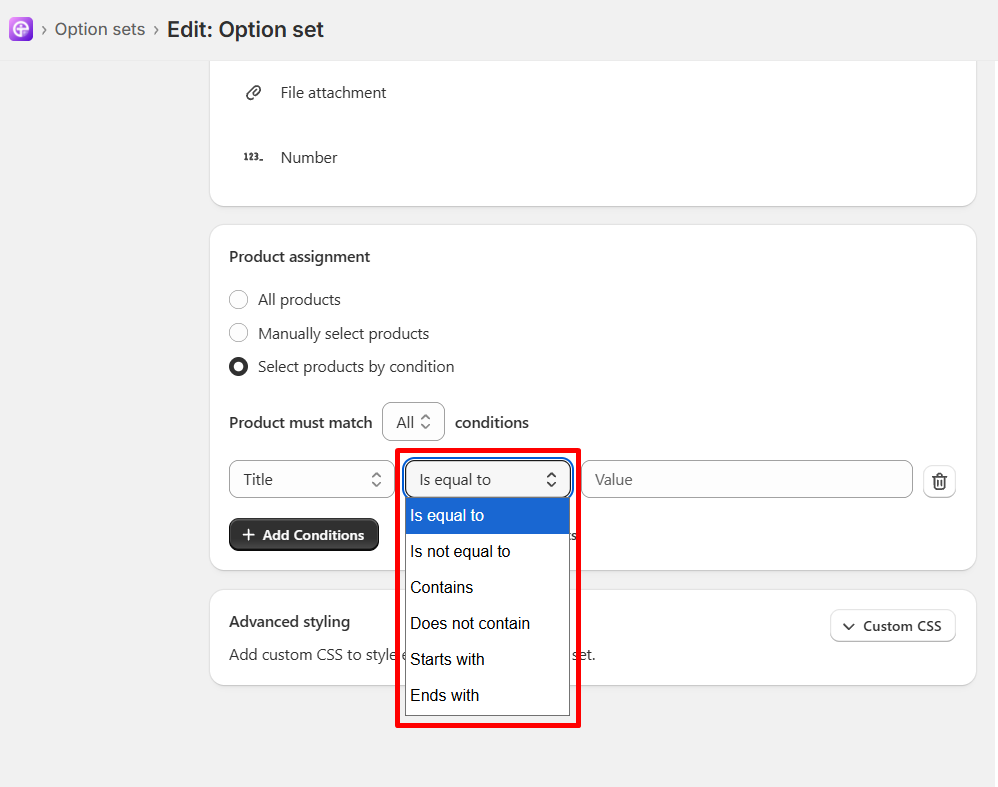
Is equal to: Matches the exact value specified.
Is not equal to: Applies to all products except those with the specified value.
Contains: Matches any product containing the specified text.
Does not contain: Excludes any product containing the specified text.
Starts with: Matches products where the attribute begins with your text.
Ends with: Matches products where the attribute ends with your text.
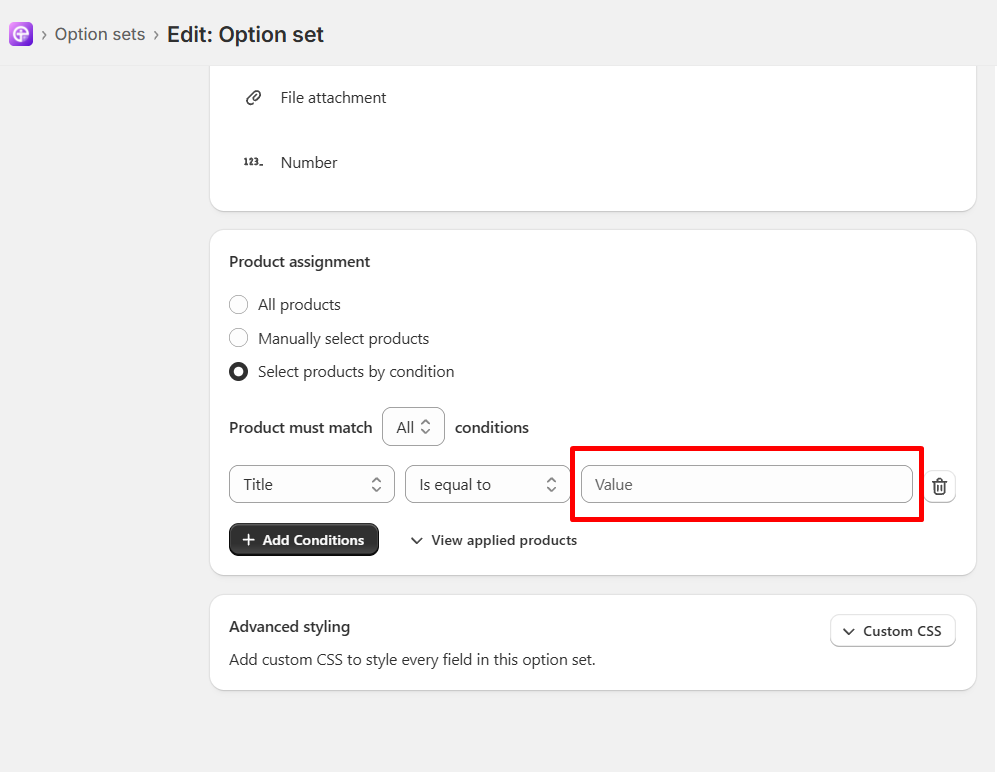
Field 3 (Value): Enter the specific word, title, tag name, type, vendor, or collection name you wish to target.
Step 6: Preview and Save
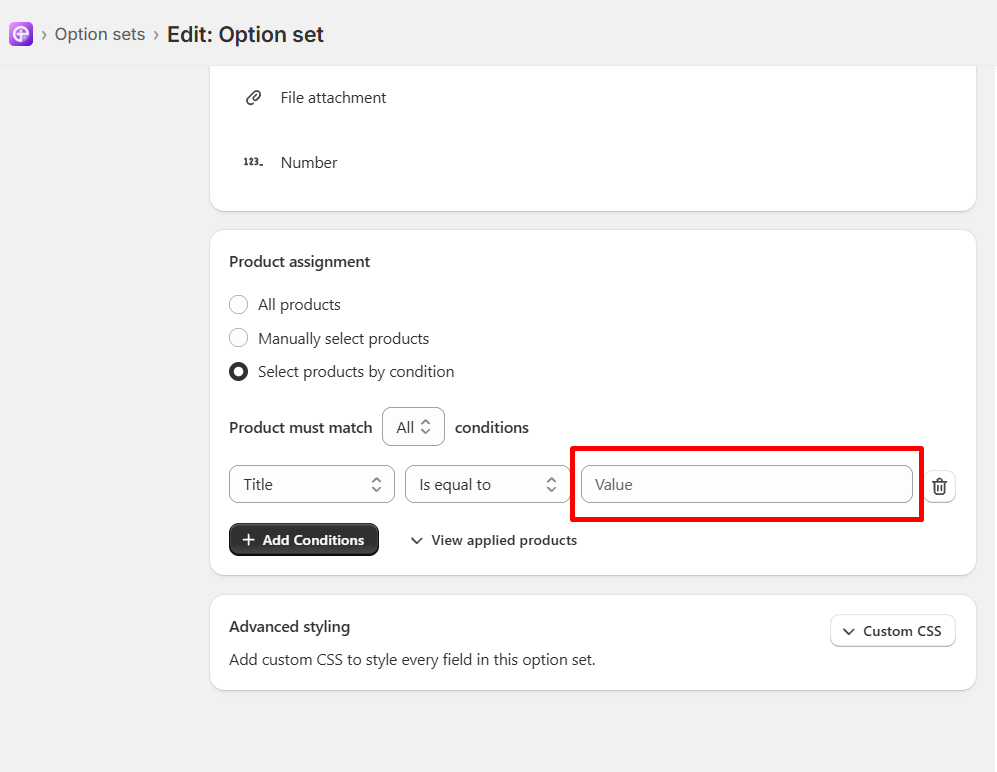
Click View applied products to review the list of matching items across your store. Once confirmed, save your option set.
Note: Whenever you add a new product to your Shopify store in the future that meets these conditions, Optionia will automatically assign the custom options to it no manual update required! |
Need Help?
If you have any questions or need assistance, We will be happy to help.
 Getting Started
 Option Sets
 Orders
 Settings
 Configuration
 Live Preview
 Packages
 Help & Support
 Price Add-Ons
 Conditional Logic
 Design Theme Styling
 Uninstallation