The General Settings section in Optionia allows you to customize how your product options and pricing add-ons appear and behave across your Shopify store. From managing your app activation and language to controlling price displays, preview images, and cart integration, these settings ensure a seamless customization experience for your customers.
Log in to your Shopify Admin.
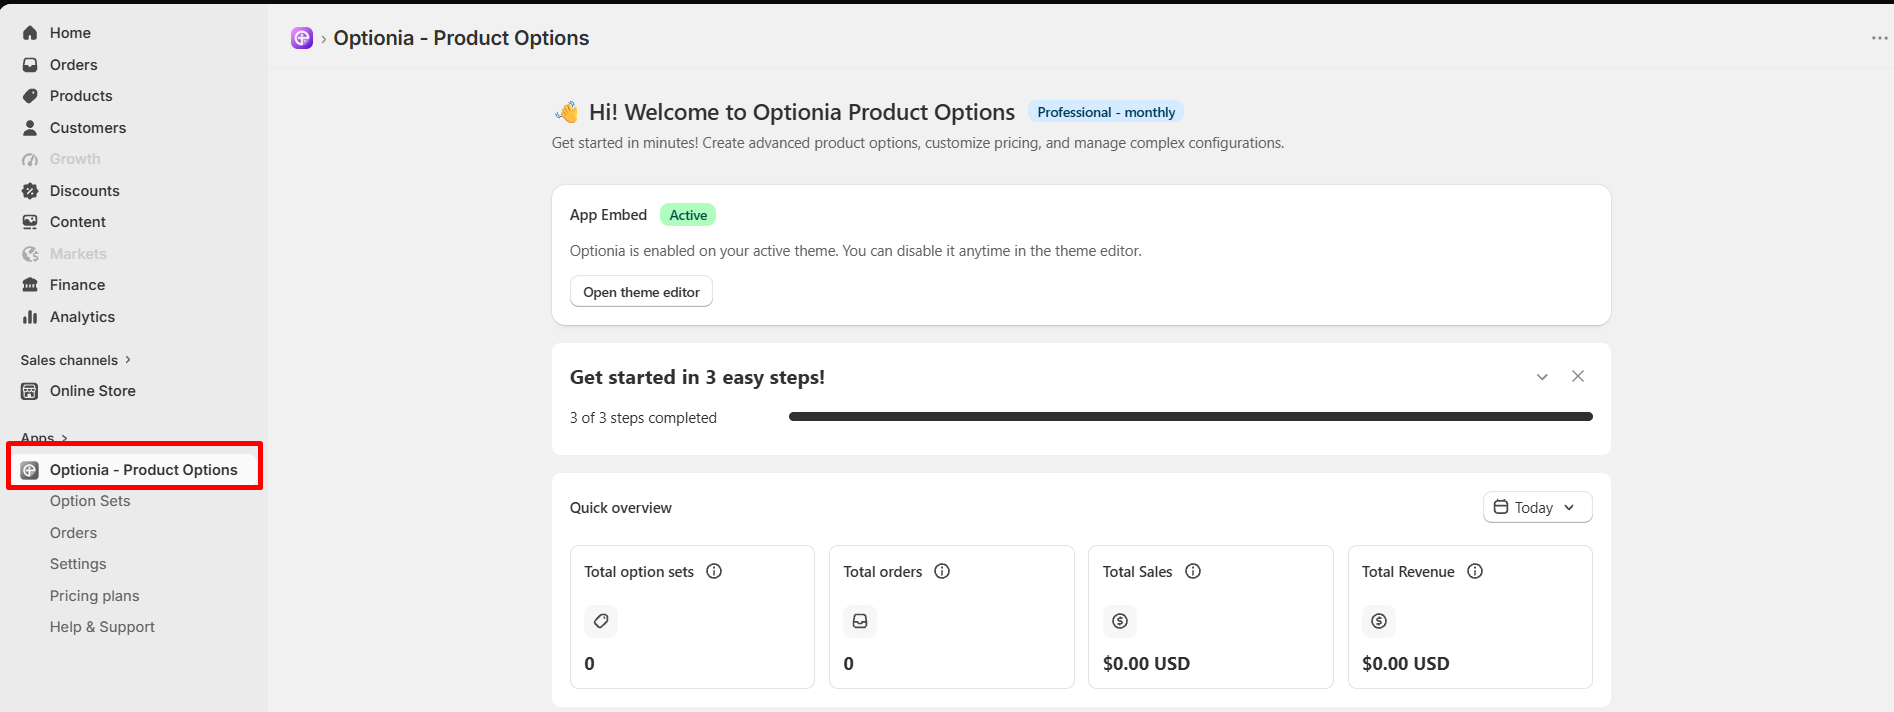
Go to Apps > Optionia - Product Options.
3. Click on Settings from the left navigation menu.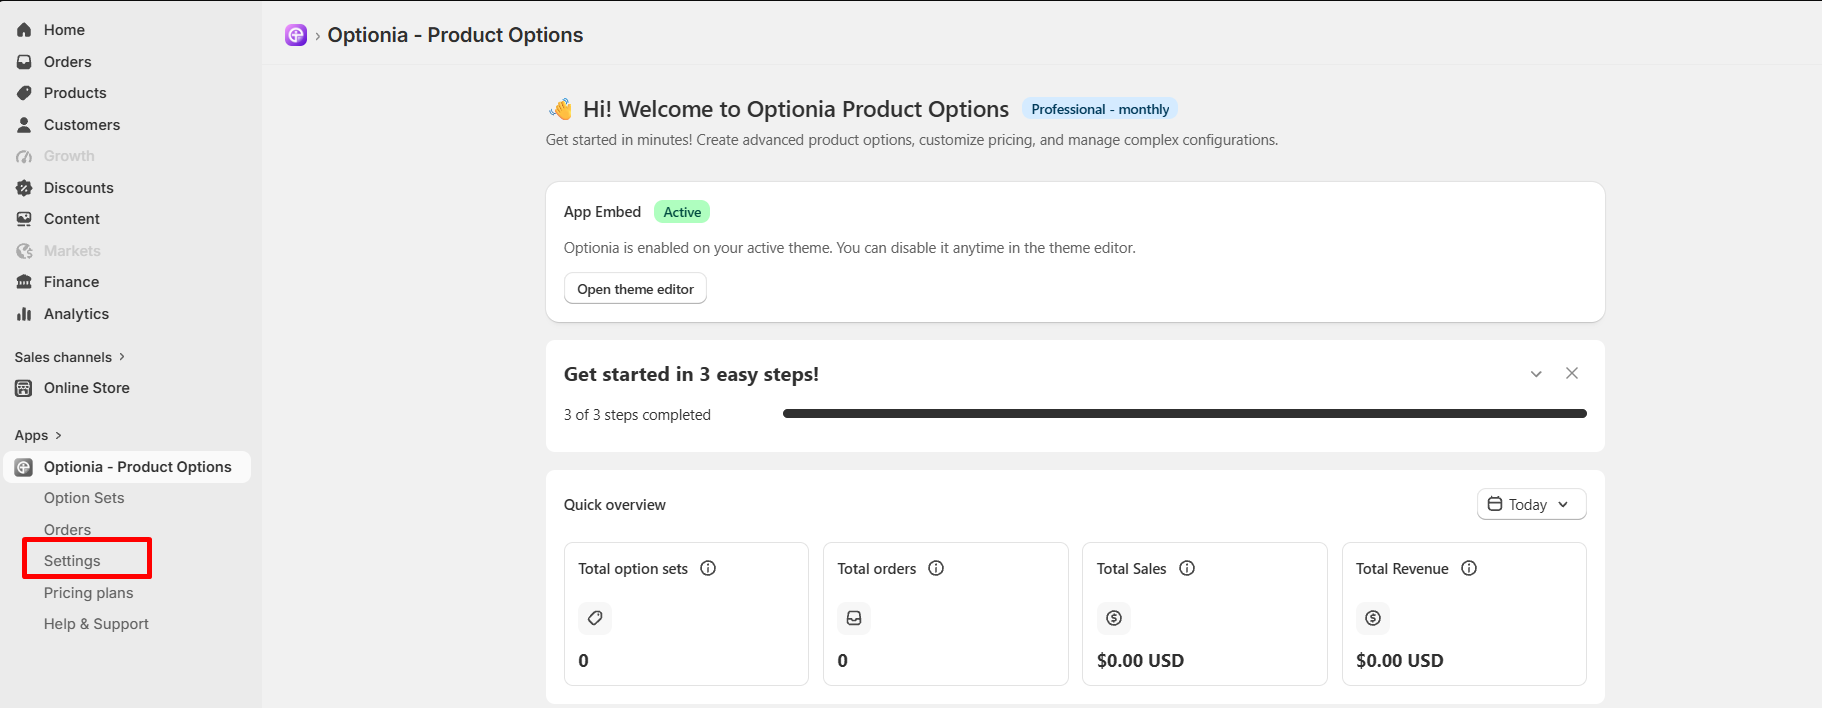
4. Select the General tab at the top of the Preferences page.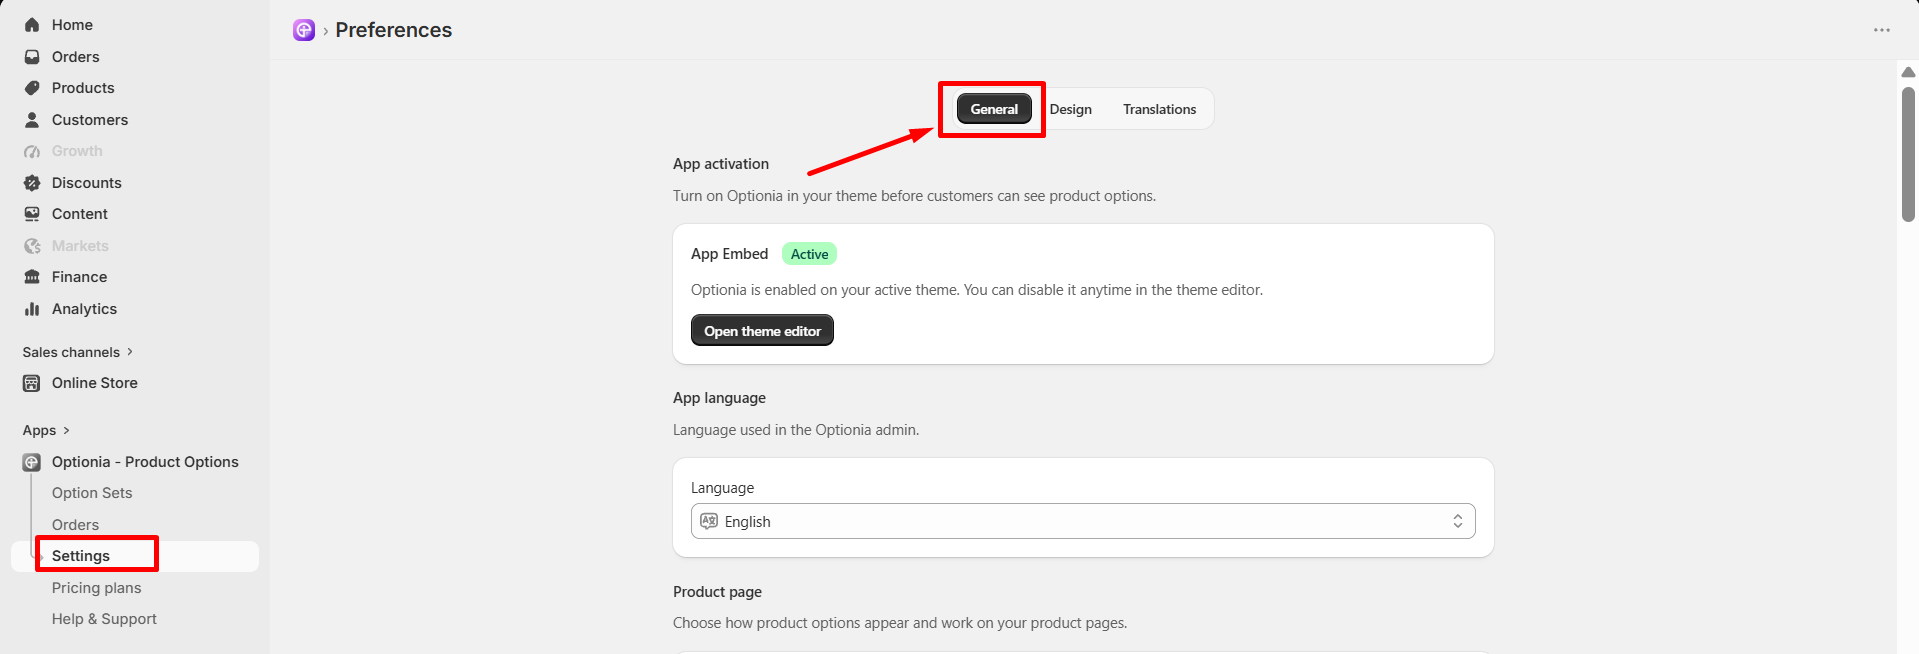
This section controls whether the Optionia app is turned on and working on your website.
Fields & Settings:
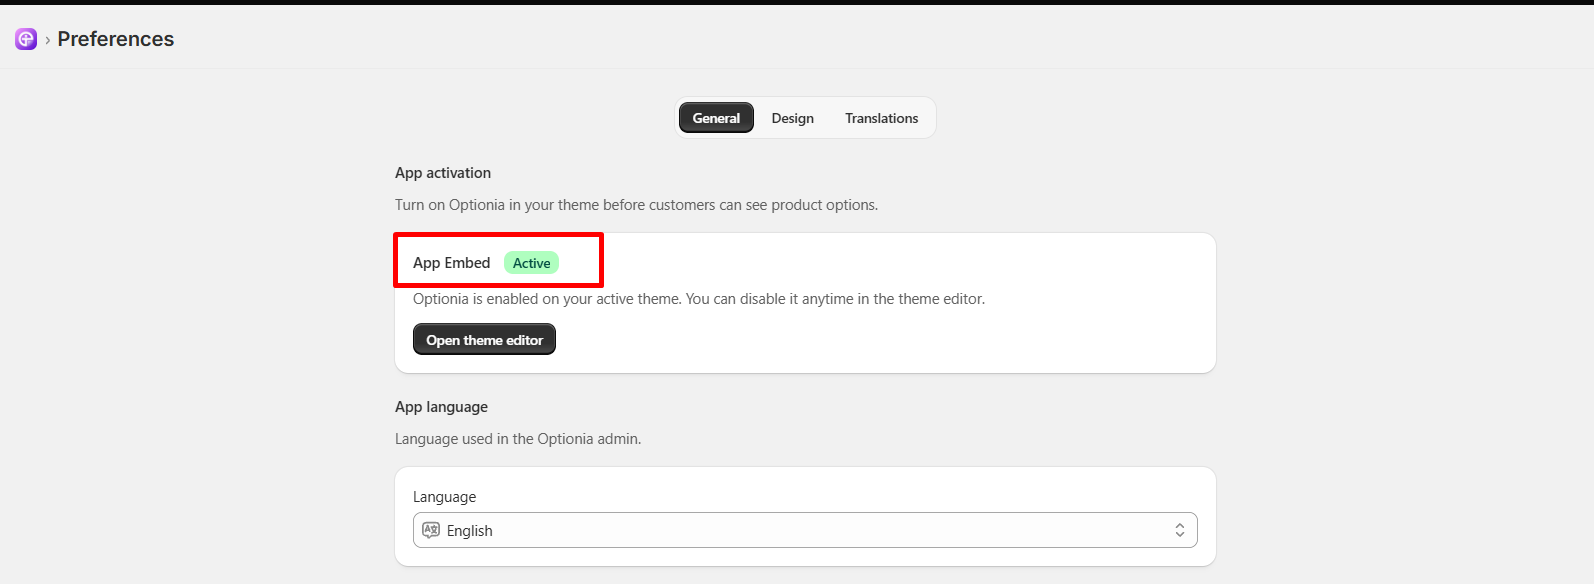
App Embed Status: Displays whether Optionia is currently active or inactive on your live store.
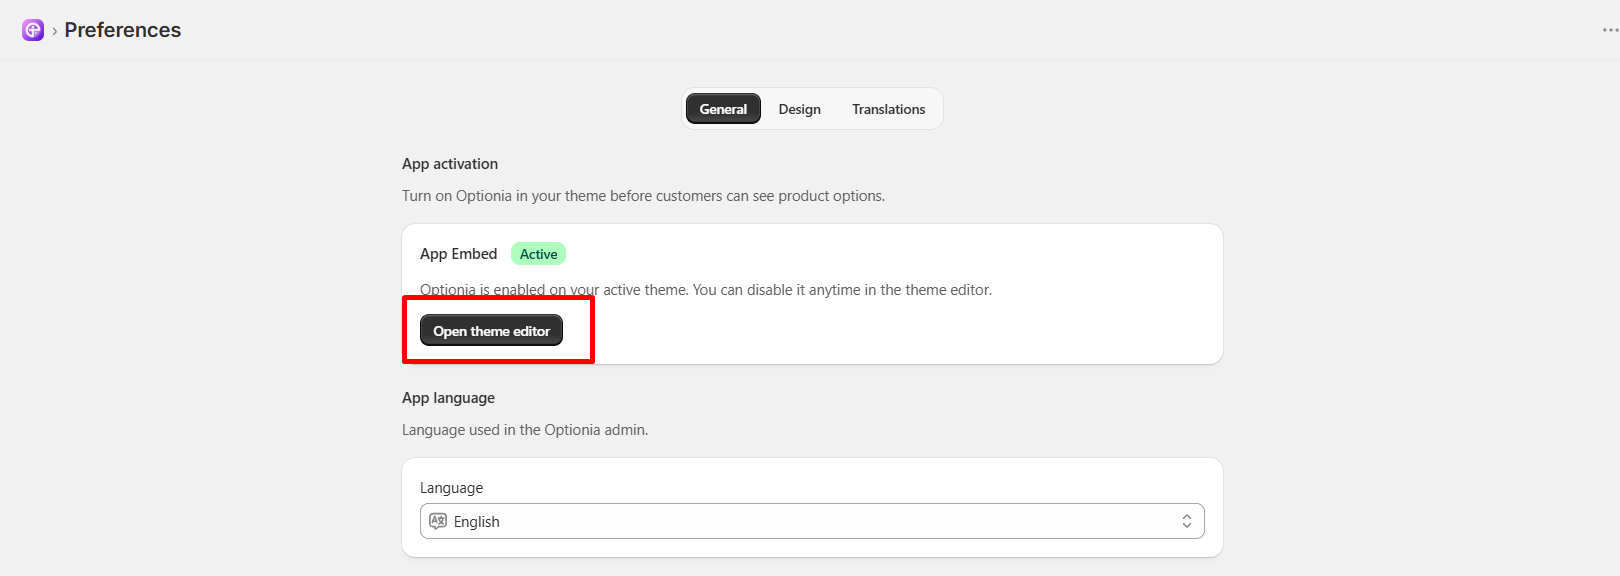
Open Theme Editor (Button): Clicking this button opens your Shopify Theme Editor. Use this if you need to manually enable or disable the Optionia app embed script on your theme.
|
Note: Optionia must be set to Active before any of your custom options, text boxes, or extra price add-ons will appear on your product pages! |
This section sets the language you see while working inside the Optionia app.
Fields & Settings:
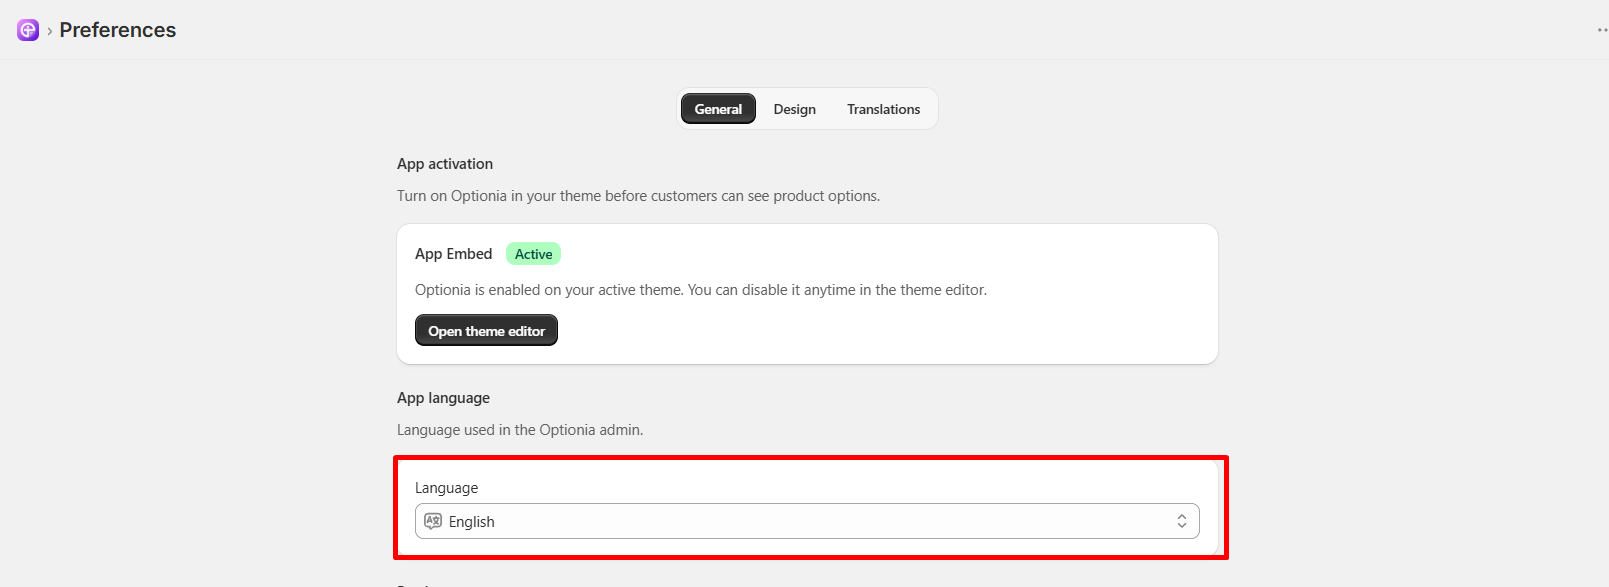
Language (Dropdown): Choose your preferred language from the list (for example, English ). This changes all the menu buttons, labels, and instruction text inside your Optionia settings.
|
Note: This only changes the language inside your admin control panel. It will not change the language on your public website for shoppers. |
This section controls how your custom option fields look, behave, and calculate prices on your main product pages.
Fields & Settings:
Panel Height Options
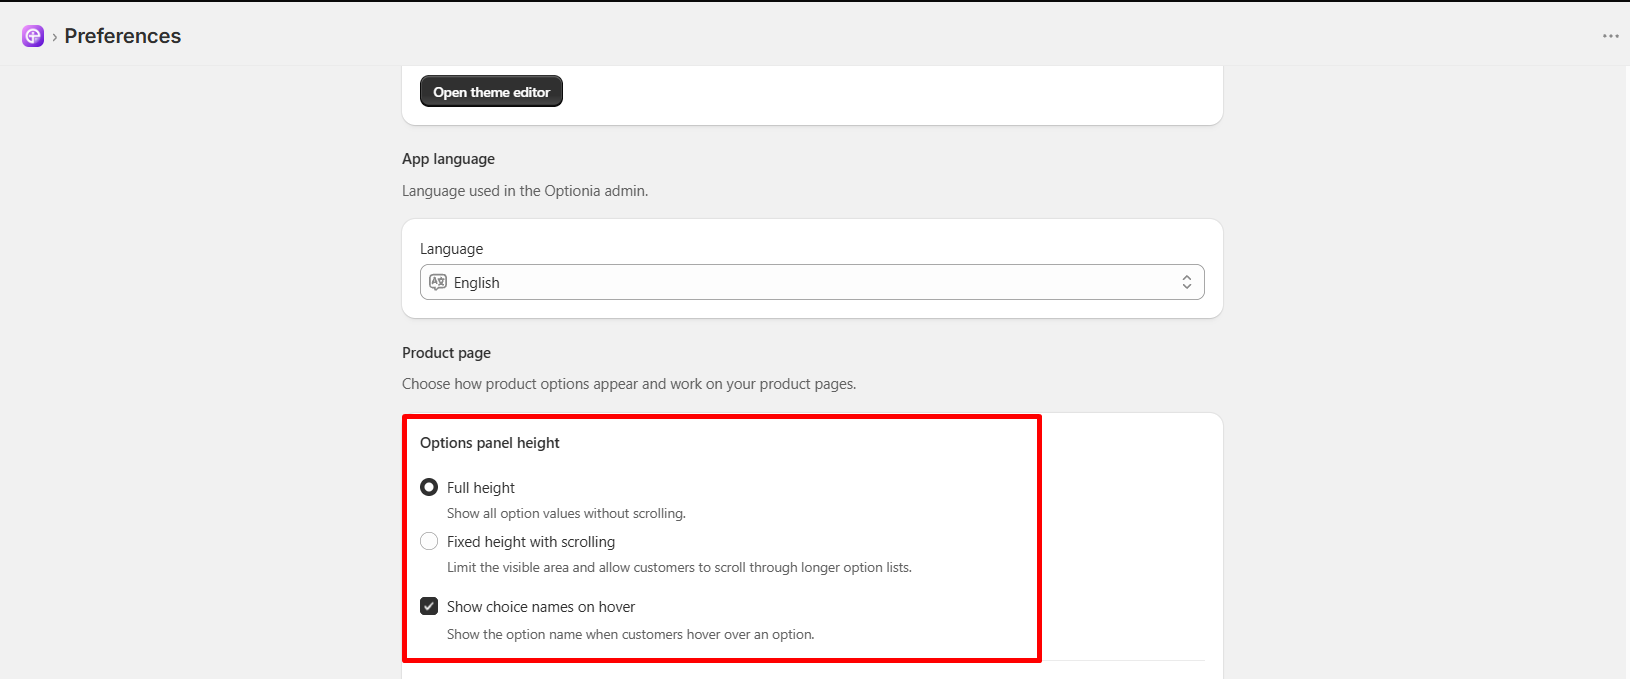
Full height (Radio Option): Displays all of your custom option fields at once without any scrollbars. Best if you only have a few options per product.
Fixed height with scrolling (Radio Option): Keeps your option box at a fixed height and adds a scrollbar. Choose this if you have a long list of options so your product page stays neat.
Show Choice Names on Hover (Checkbox): When checked, if a customer hovers their mouse pointer over an option choice (like a color swatch or image tile), the title of that choice will pop up in a small tag.
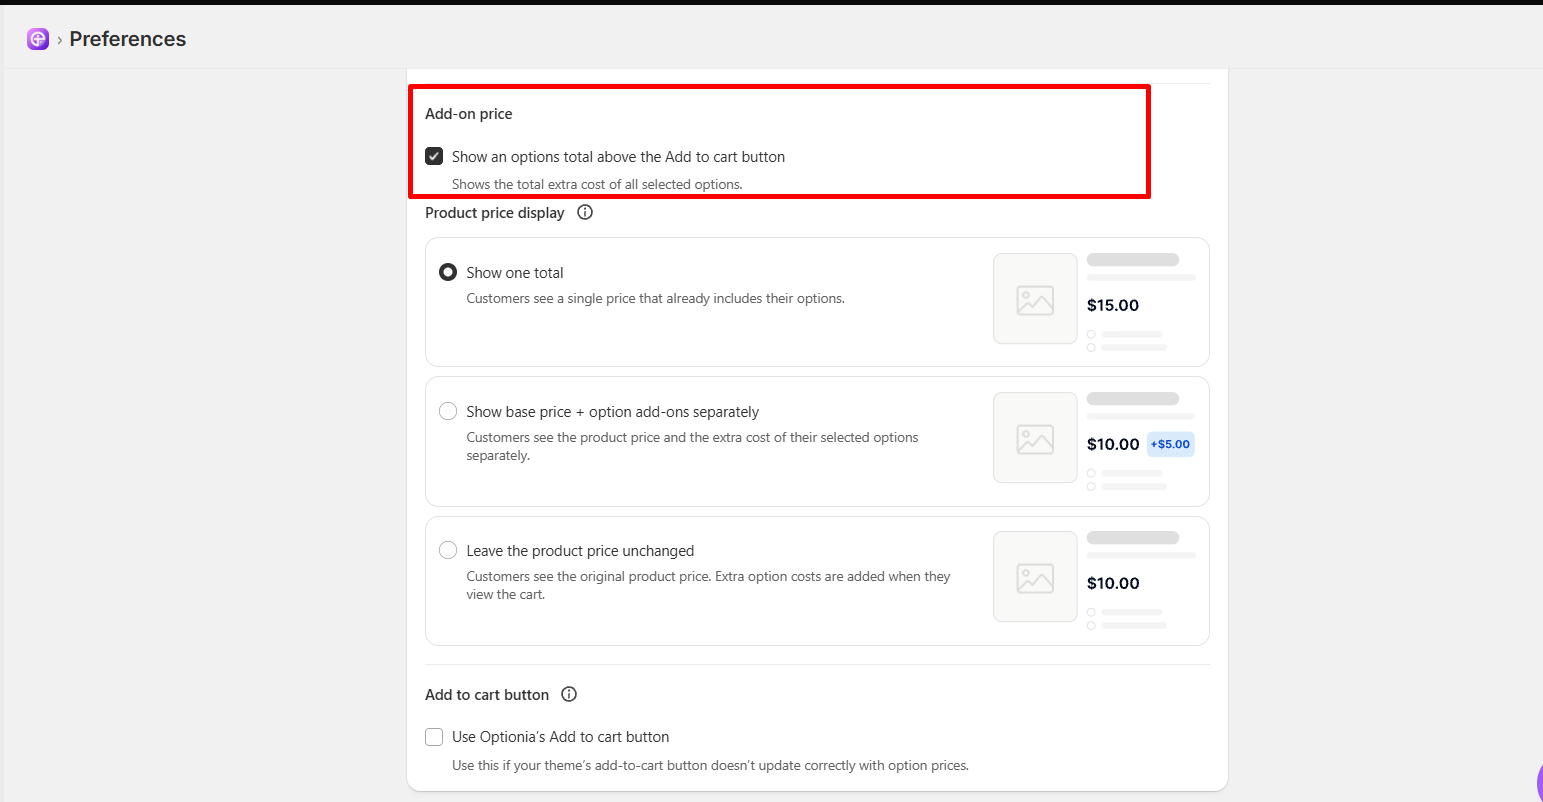
Show an Options Total Above the Add to Cart Button (Checkbox): When checked, a live summary of the total extra option costs will be displayed directly above your store's "Add to Cart" button.
Product Price When a Paid Option is Selected:
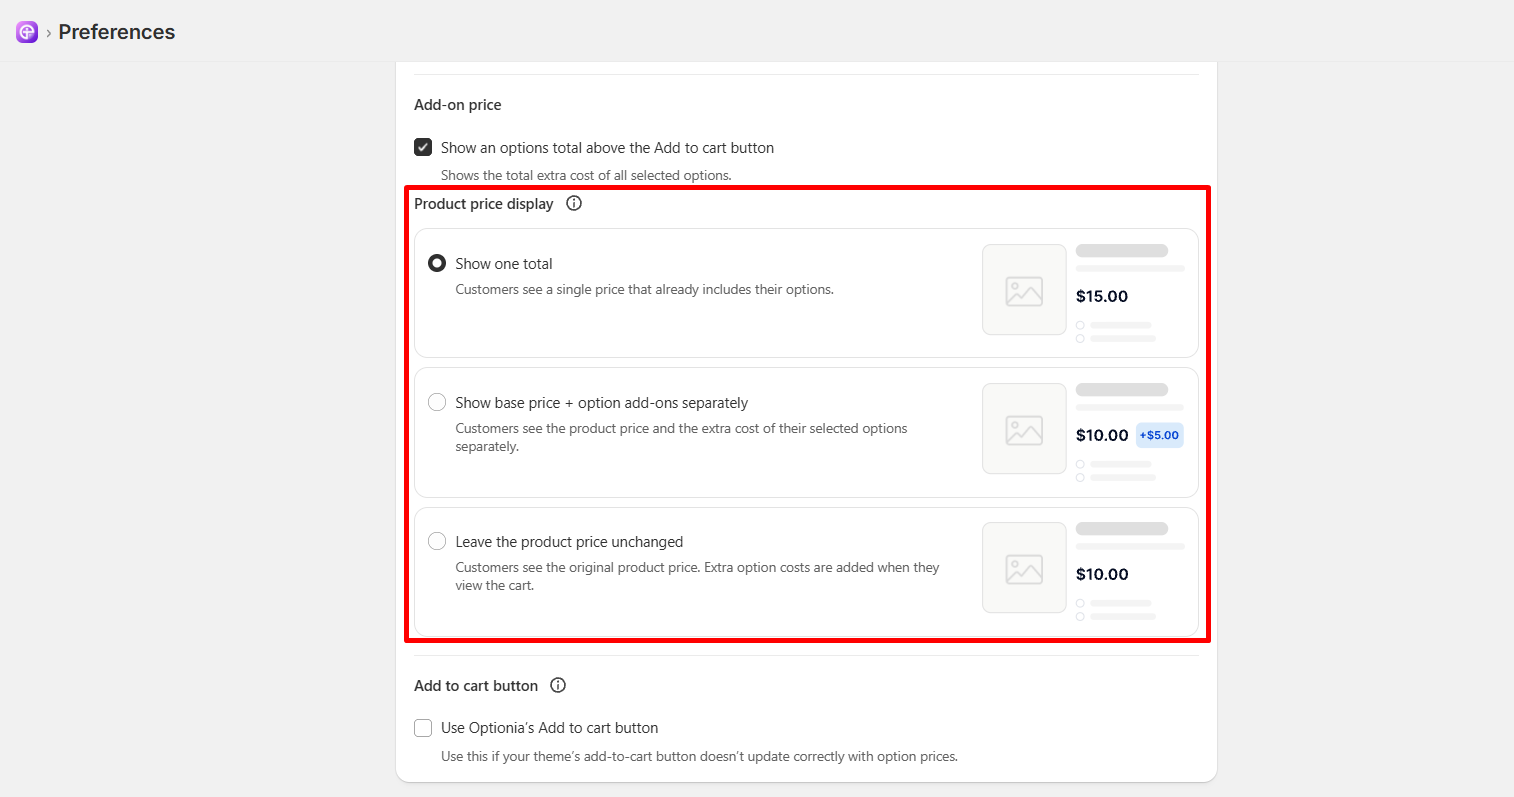
Show one total (Radio Option): Combines the main product price and all extra option fees into one single total price (for example: $15.00 ).
Show base price + option add-ons separately (Radio Option): Keeps the original product price visible and places the extra option cost right beside it in a highlighted box (for example: $10.00 +$5.00 ).
Leave the product price unchanged (Radio Option): Leaves the main product price unchanged on the product page. The extra option fees will only be added once the item reaches the cart.
Add to cart button:
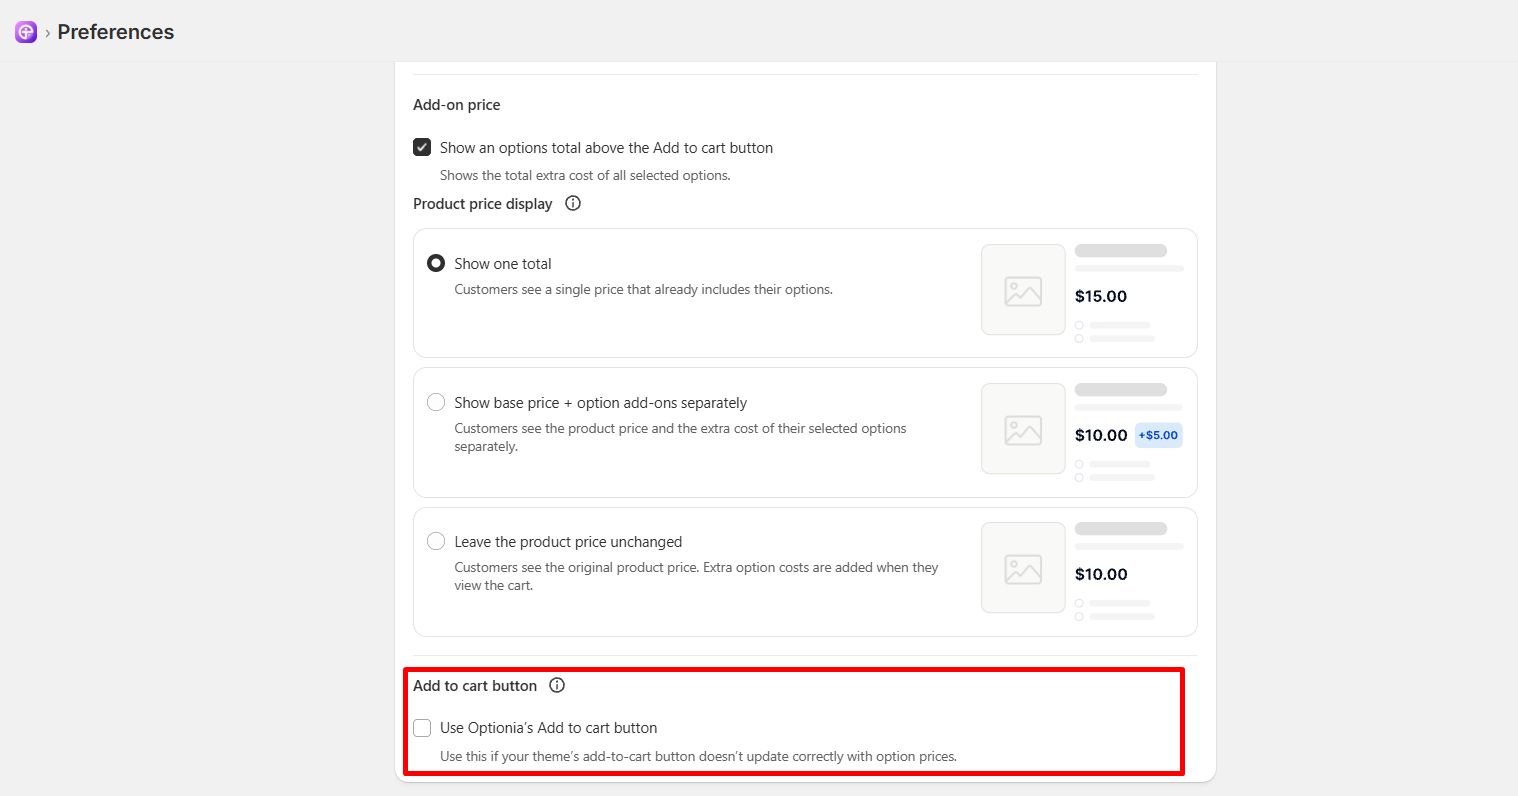 Use Optionia's Add to Cart Button (Checkbox):
Check this box only if your Shopify theme's built-in "Add to Cart" button is failing to calculate or send the extra option fees to the cart page.
Use Optionia's Add to Cart Button (Checkbox):
Check this box only if your Shopify theme's built-in "Add to Cart" button is failing to calculate or send the extra option fees to the cart page.
This section controls how custom options and their extra costs are presented inside the shopper's cart page.
Fields & Settings:
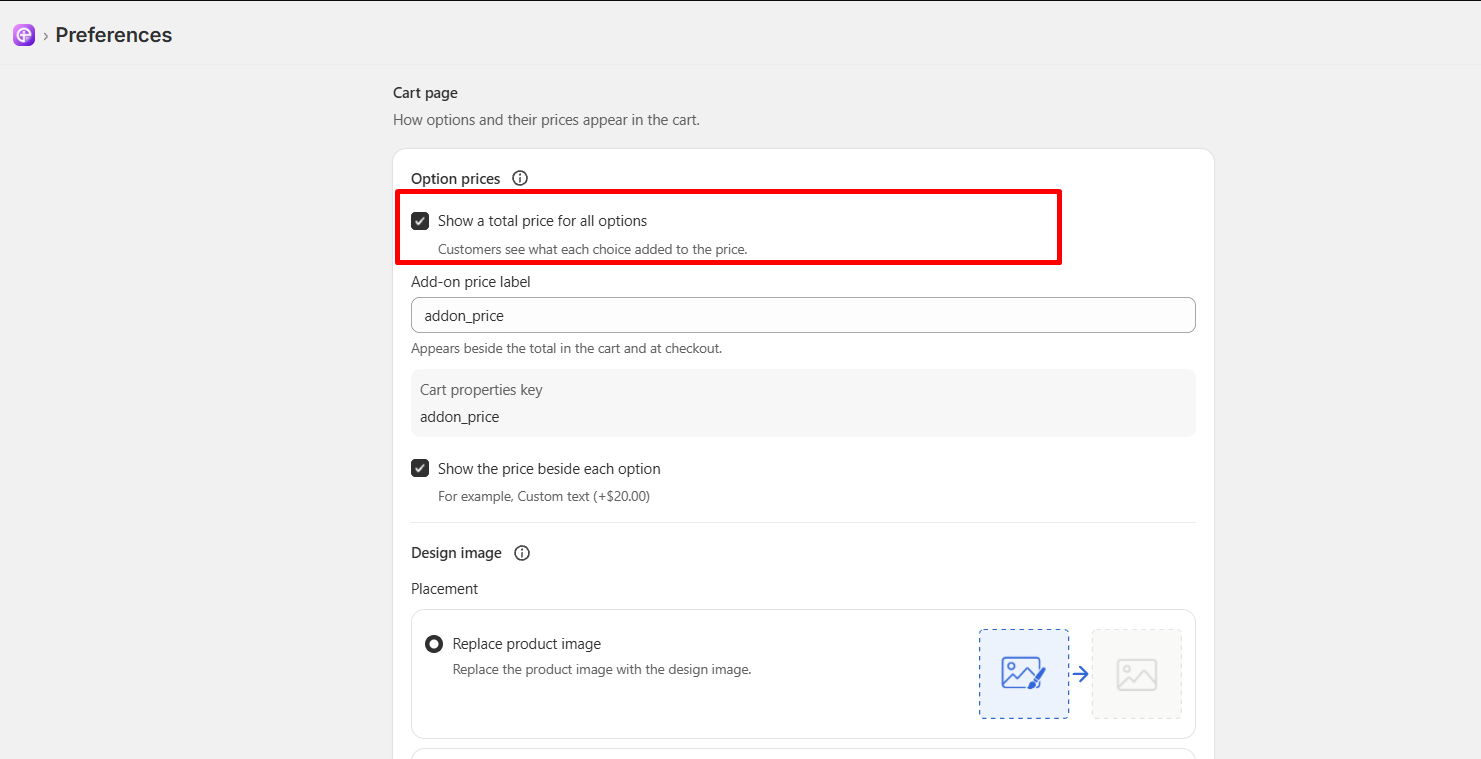
Show a Total Price for All Options (Checkbox):
When checked, the total sum of all added options is displayed as a single line item in the cart breakdown.
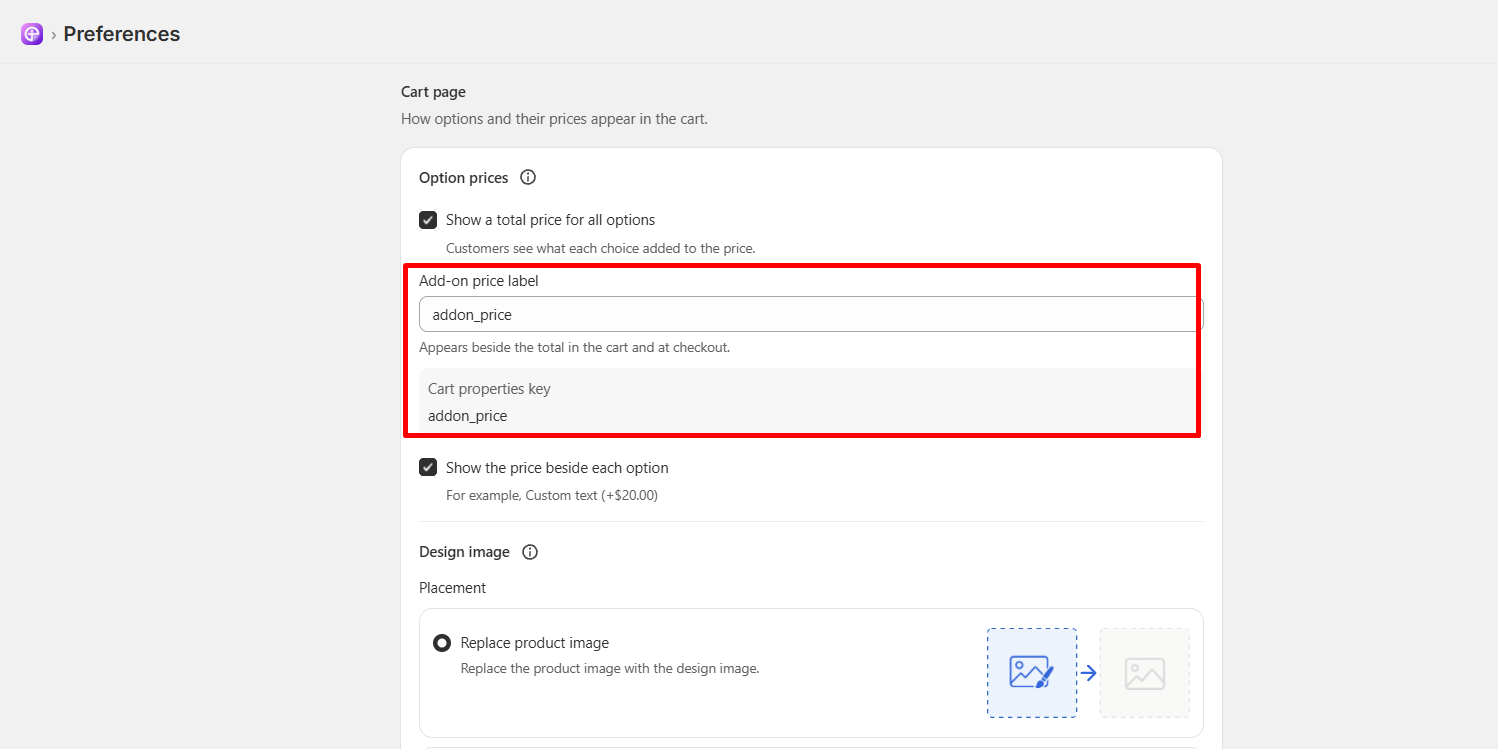
Add-on Price Label (Text Field): Type the label name used to identify extra option prices in your store's checkout details (the default setting is addon_price ).
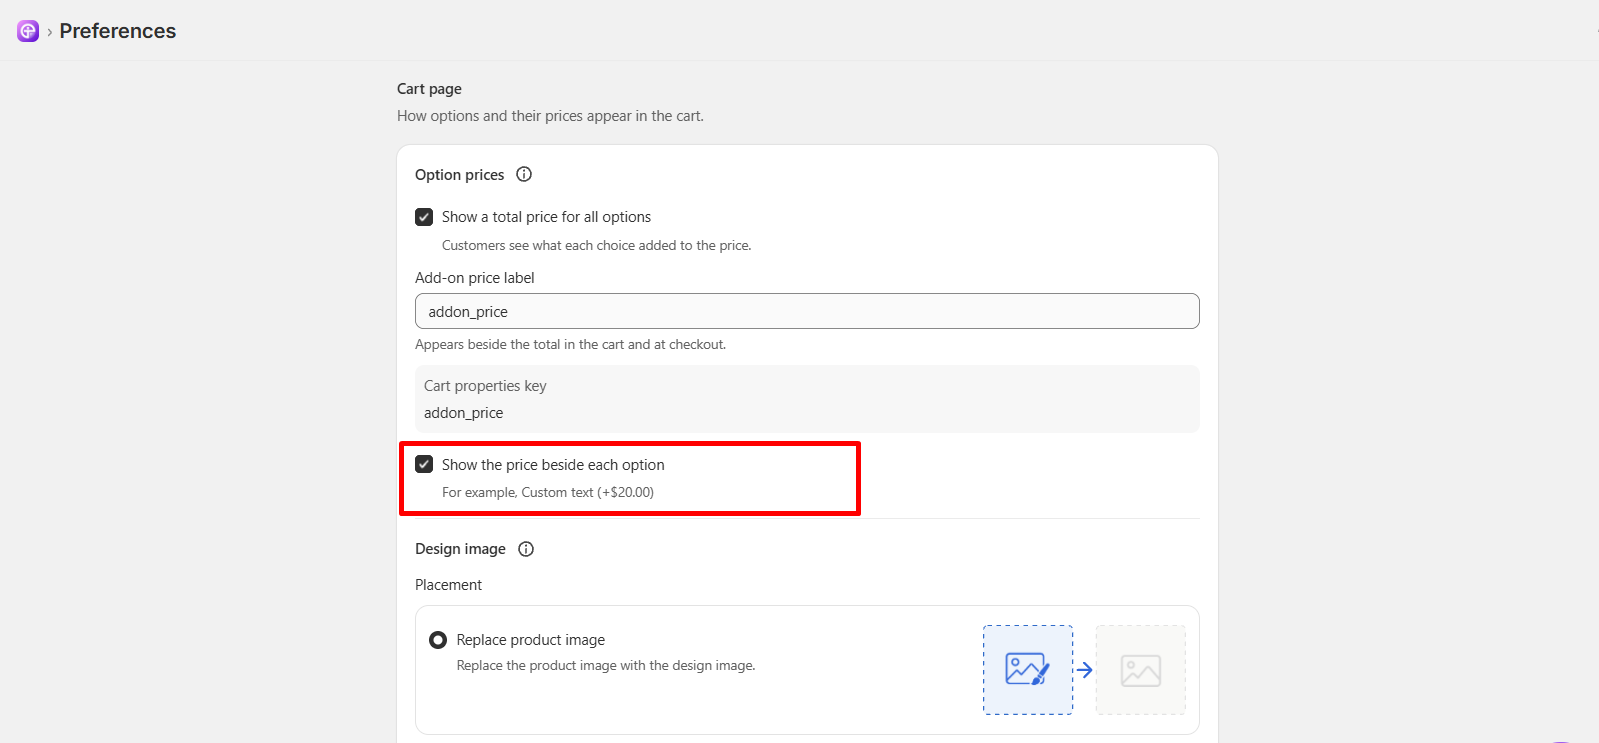
Show the Price Beside Each Option (Checkbox): When checked, the exact extra cost of each specific option is written right next to its name inside the cart (for example: Custom Text (+$20.00) ).
This section controls live image previews when customers customize products with custom images or designs.
Fields & Settings:
Investment:
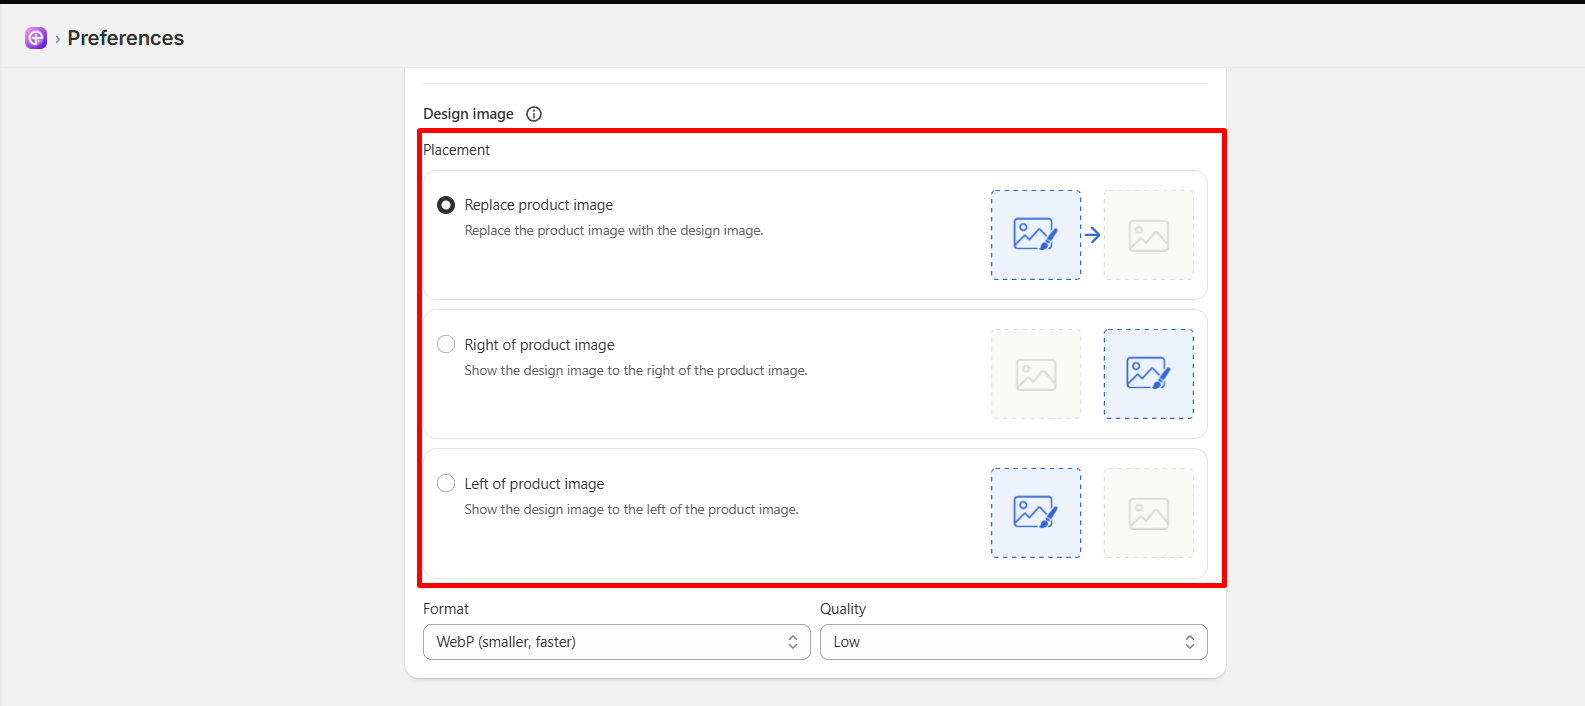
Replace product image (Radio Option): Replaces the main product photo on your page with the newly created custom design preview image.
Right of product image (Radio Option): Displays the custom design preview image in a box to the right side of your main product photo.
Left of product image (Radio Option): Displays the custom design preview image in a box to the left side of your main product photo.
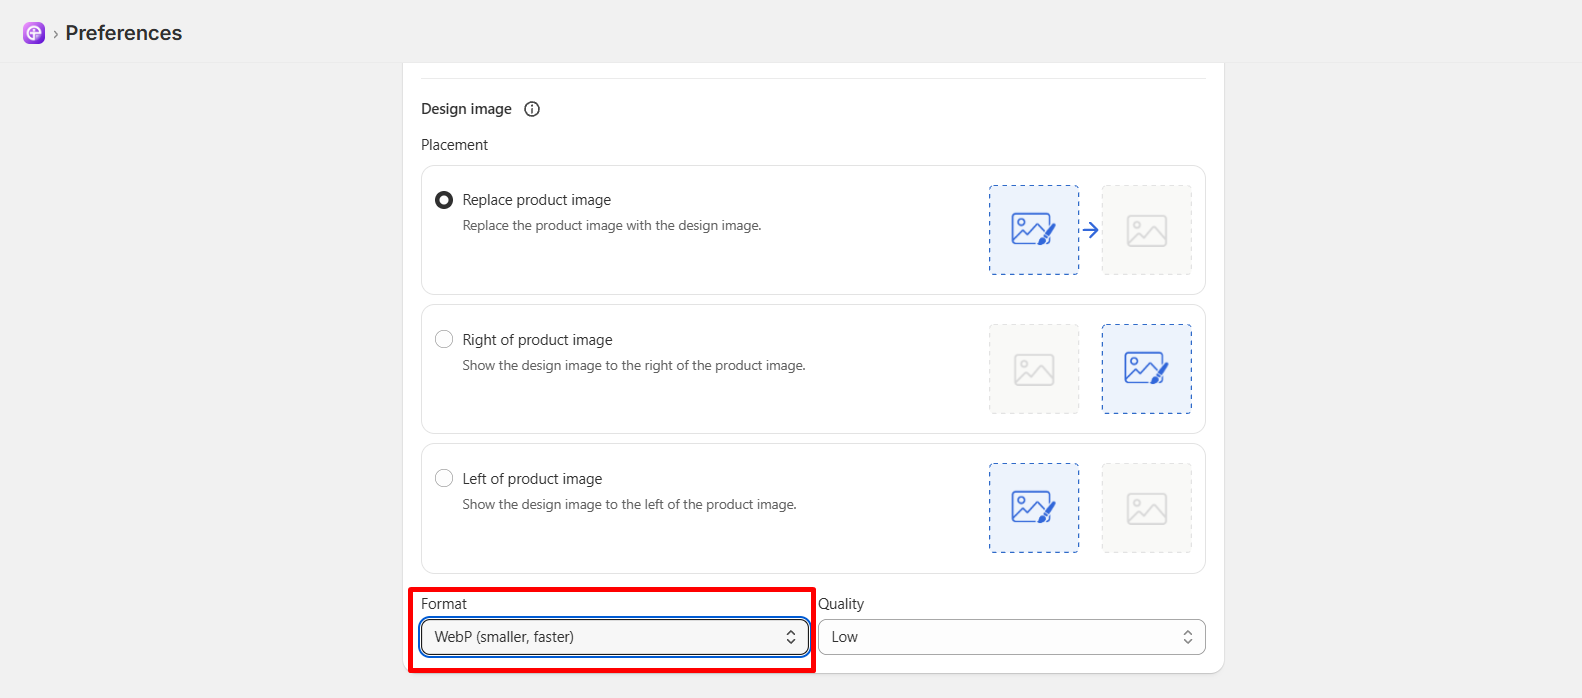 Format (Dropdown):
Choose the image file format used for live preview images (such as
WebP
, which creates smaller files that load much faster).
Format (Dropdown):
Choose the image file format used for live preview images (such as
WebP
, which creates smaller files that load much faster).
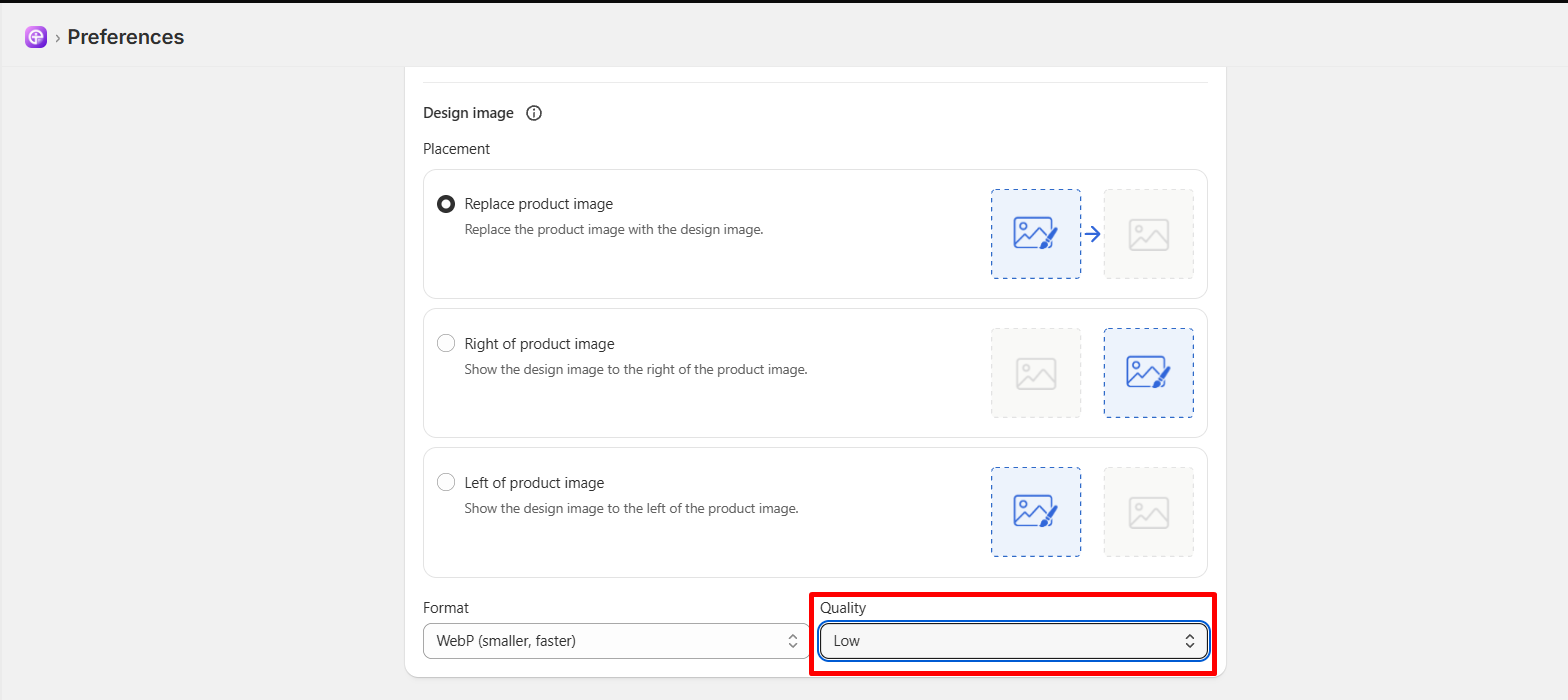
Quality (Dropdown): Select the resolution quality of the preview image ( Low , Medium , or High ).
This section controls how money amounts are styled across Optionia.
Fields & Settings:
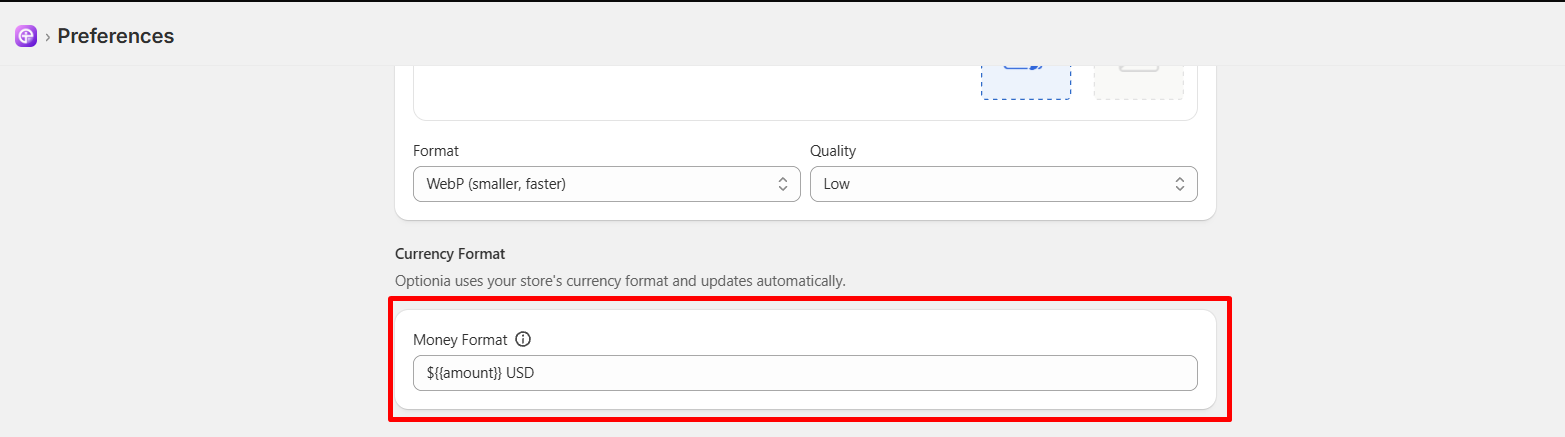
Money Format (Text Field): Displays how currency symbols and amounts are written (for example: ${{amount}} USD ).
|
Note: Optionia automatically matches your store's main currency settings from Shopify, so you normally do not need to change this box. |
This section connects Optionia to your store's background HTML layout code. Optionia detects these code locations automatically.
Fields & Settings:
Product Page Targets:
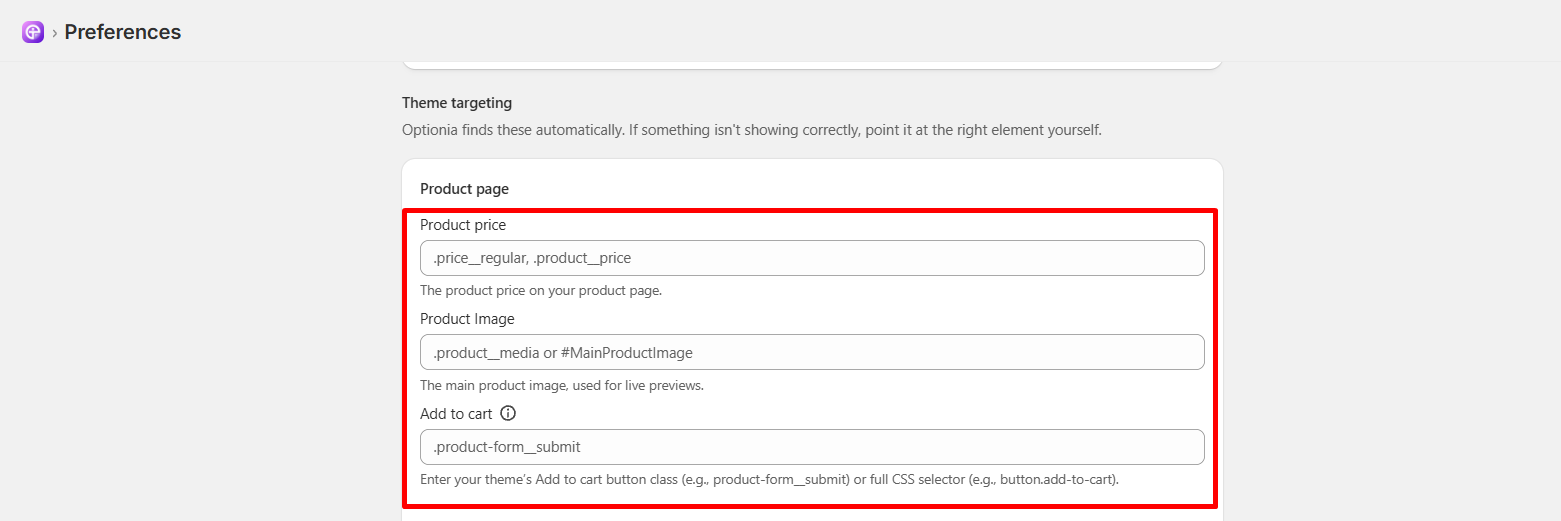
Product price: Points to the HTML element showing the product price on your product page
Product Image: Points to the main image element used for displaying live previews
Add to cart: Points to your theme's main "Add to Cart" button CSS class
Cart Page Targets:
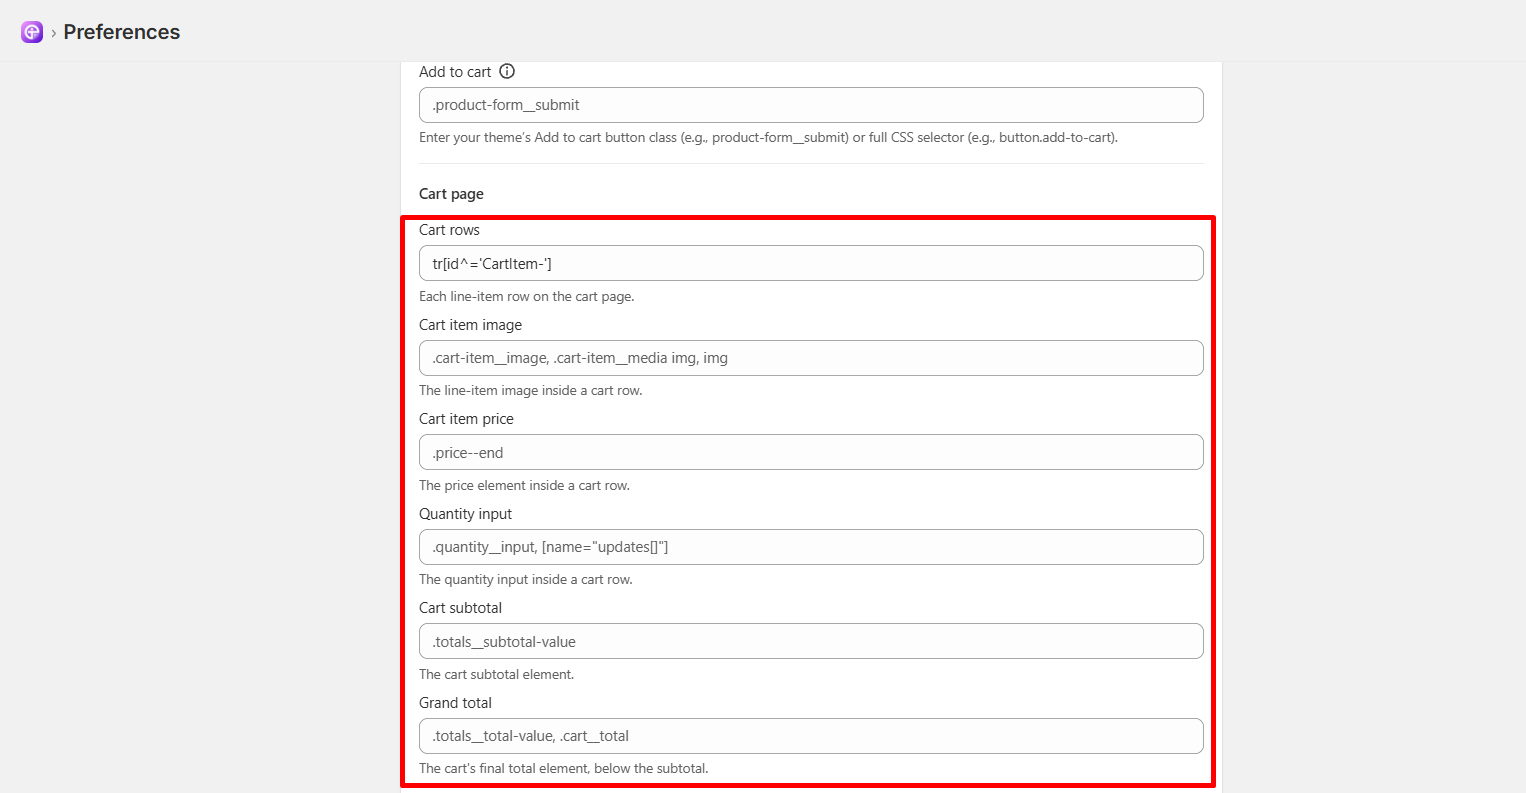
Cart rows: Points to each individual item row on the cart page
Cart item image: Points to the line-item thumbnail image in a cart row .
Cart item price: Points to the price displayed inside a cart row .
Quantity input: Points to the number entry box used to change item quantities in the cart
Cart subtotal: Points to the cart's subtotal price display element.
Grand total: Points to the cart's final total price element located below the subtotal.
|
Note: Do not change any text in the Theme Targeting section unless a developer tells you to! Optionia automatically finds these elements. |
This section makes sure Optionia works correctly if your website uses a slide-out cart menu instead of a full cart page.
Fields & Settings:
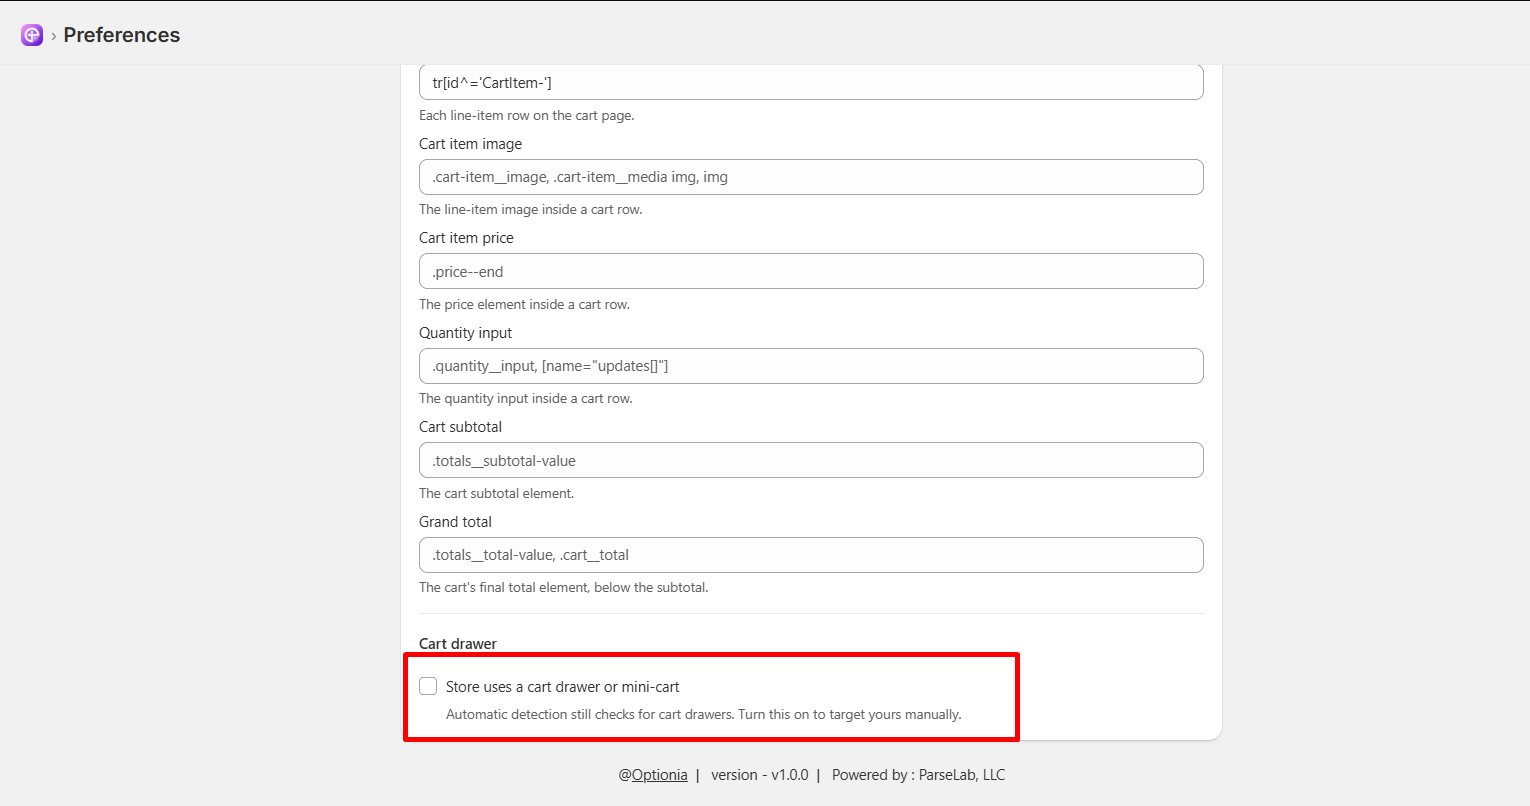
Store Uses a Cart Drawer or Mini-cart (Checkbox): Check this box if your theme uses a pop-up window or slide-out side drawer when a customer clicks "Add to Cart".
|
Note: Always click the Save button in the top banner after changing any of your settings! |
 Getting Started
 Option Sets
 Orders
 Settings
 Configuration
 Live Preview
 Packages
 Help & Support
 Price Add-Ons
 Conditional Logic
 Design Theme Styling
 Uninstallation